Cisco ASA 5506W-X Manuel d'installation - Page 45

Parcourez en ligne ou téléchargez le pdf Manuel d'installation pour {nom_de_la_catégorie} Cisco ASA 5506W-X. Cisco ASA 5506W-X 46 pages. Threat defense reimage guide
Également pour Cisco ASA 5506W-X : Manuel de démarrage rapide (10 pages), Manuel de configuration (13 pages), Manuel de démarrage rapide (14 pages), Manuel d'installation facile (11 pages), Manuel du logiciel (37 pages), Monter et connecter (12 pages), Montage du châssis (10 pages)
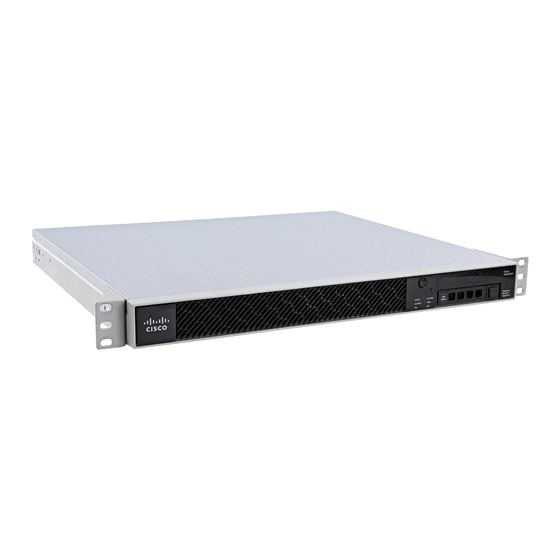
Cisco ASA 5506W-X Manuel d'installation
Installation, Maintenance, and Upgrade
Figure 30: ASA Bracket Assembly
1
Step 1
Slide the rack-mount shelf containing the chassis out of the rack.
Step 2
At the back of the rack-mount shelf behind the power supplies, install the adjustable retainer.
a) Loosen the two top screws (item 1 in the figure above) slightly to adjust the bracket for each power supply.
The Delta power supply uses the bracket extended to its tallest configuration. This configuration has item 1 shifted
to the bottom of the slot on the bracket over the power supply. The LiteOn power supply uses the bracket extended
to its shortest configuration. This configuration has item 1 shifted to the top of the slot on the bracket over the power
supply.
b) Install the bracket over the power supply and screw the two bottom M3 captive screws (item 2 in the figure above)
on each side of the bottom of the bracket into the rack-mount tray.
The following figure shows the installed power supply retainer.
Online Only
Two screws to loosen to change from high to low
bracket
Cisco ASA 5506-X, ASA 5506W-X, and ASA 5506H-X Hardware Installation Guide
Install the Adjustable Power Supply Retainer
2
Two captive screws to attach to rack-mount tray
41