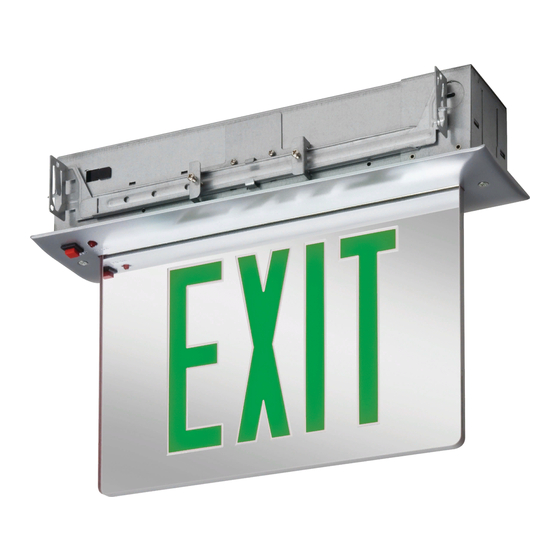
Acuity Brands LITHONIA LIGHTING PRECISE ELA LRIS 120/277 ELN Series Manuel d'instructions d'installation - Page 5
Parcourez en ligne ou téléchargez le pdf Manuel d'instructions d'installation pour {nom_de_la_catégorie} Acuity Brands LITHONIA LIGHTING PRECISE ELA LRIS 120/277 ELN Series. Acuity Brands LITHONIA LIGHTING PRECISE ELA LRIS 120/277 ELN Series 6 pages. Recessed emergency edge lit led exit signs, recessed emergency rough-in sections

Figure 6
End Mount
INSTALLATION:ROUGH-IN SECTION
(Ref: Fig. 1 and 6)
END MOUNT (Requires End Mount Panel Assembly)
Remove bar hanger bracket screws
hanger brackets
with bar hangers
holes (on ends of cover can) and secure using same screws.
Bar hangers are adjustable from 14
bar hanger score lines to reduce spacing to 12" Rough-in
section may be off-centered if necessary, but bar hangers
should be secured together with bar hanger locking screws
Position the rough-in section with the side flanges
cover can
flush with the inner (stud side) surface of wall
material.
WOOD STUDS:
Adjust bar hangers to fit against studs. Secure by tightening
the locking screws
. Drive nailer tabs into wood.
METAL STUDS:
Installation is the same as for wood studs except that sheet
metal screws (not provided) should be used to fasten the ends
of the bar hanger to the studs. These screws should have a
minimum pullout rating of 30 pounds.
WIRING: See Wiring Instructions and Diagrams, Page 6.
and relocate bar
to alternate mounting
1
/
" to 24". Break along
2
.
of the
21
CLOSE-IN:
DRY WALL:
Cutout hole in ceiling material should not exceed 4 1/2" x 13
3/4" (max.). Note: The top of the cover can
a template to trace cutout onto ceiling material. Install trim ring
halves
and secure with trim ring mounting screws
WET WALL:
Do not plaster inside the plaster ring opening. Install trim ring
halves
and secure with trim ring mounting screws
INSTALLATION: SIGN PANEL ASSEMBLY
Assemble Lamp Housing
(Fig. 1) by inserting Housing into Plate and securing with two
Lamp Housing Mounting Screws
between screw and plate (one place). This will assure proper
grounding. Connect Lamp Plug Assembly
Plug Assembly
28
Section with two Captive Mounting Screwws
SIGN PANEL CLEANING:
Clean sign panel assembly by using any industrial-grade
acrylic cleaner and a clean soft cloth. DO NOT USE
ammonia-based glass cleaner on acrylic surfaces as it will
damage the clear finish. We can recommend Brillianize by
Kleenmaster.
This can be purchased online at their web site
www.brillianize.com or call 800.445.9344.
Page 5
to Recess Mounting Plate
, inserting Star Washer
. Attach Sign Panel Assembly to Rough-In
may be used as
.
.
32
and Test Switch
.
