Epson Perfection 1670 Photo Manuel de démarrage - Page 3

Parcourez en ligne ou téléchargez le pdf Manuel de démarrage pour {nom_de_la_catégorie} Epson Perfection 1670 Photo. Epson Perfection 1670 Photo 9 pages. Color image scanner
Également pour Epson Perfection 1670 Photo : Informations sur le produit (7 pages), Manuel (11 pages), Mise à jour (1 pages), Bulletin d'information sur les produits (17 pages), Bulletin d'information sur les produits (12 pages), Consignes de sécurité importantes (4 pages), Brochure & Specs (2 pages), Manuel d'entretien (46 pages)
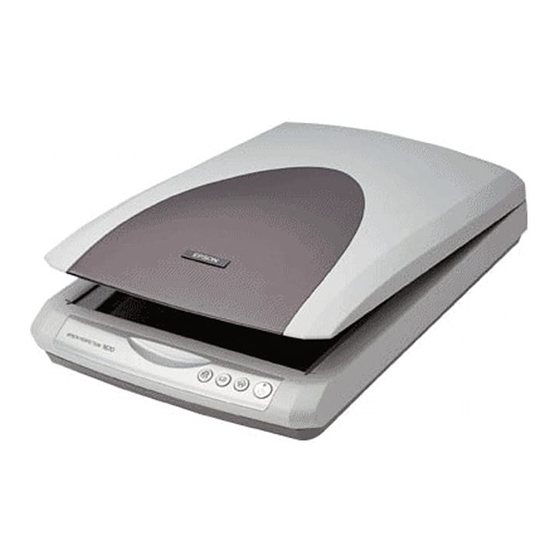
Epson Perfection 1670 Photo Manuel de démarrage
6
Connect the AC adapter to the scanner.
7
Plug the other end of the power cord into an electrical outlet.
The scanner turns on and the ] Start button light flashes green. It stops
flashing and turns green when the scanner is ready.
Caution:
It is not possible to change the AC adapter's input or output voltage. If the
label on the AC adapter does not show the correct voltage, contact your
dealer. Do not plug in the power cord.
Whenever you unplug the scanner, wait at least 10 seconds before
plugging it back in. Rapidly plugging and unplugging the scanner can
damage it.
8
Use the USB cable that came with your scanner. Plug the square end of
the USB cable into the scanner's USB port. Then plug the flat end into any
available USB port on your computer.
Note: Your scanner may not work correctly if you use a USB cable other than
the one supplied by EPSON or if you connect your scanner to a hub system.

Scanner Basics

Your First Scan

The ] Start button on your scanner automatically opens EPSON Smart Panel,
making it easy for you to scan your images for many different uses. Here's how
you can use the ] Start button and Smart Panel to scan photos and save them
as files.
1
Raise the scanner cover and place your photo
face down on the glass. Make sure the top of
the document is against the front edge of the
scanner glass.
Then close the cover.