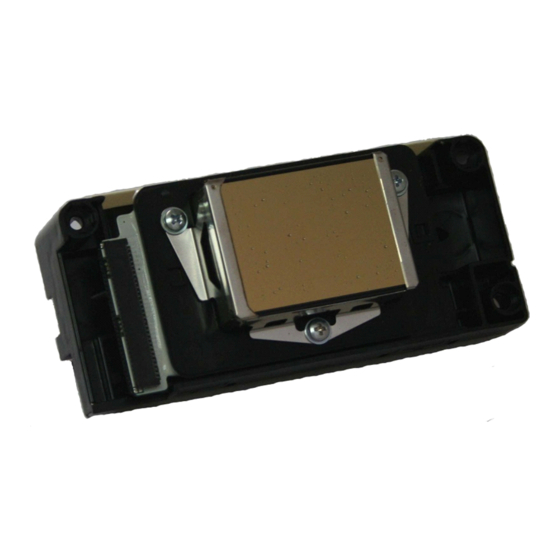
Epson DX5 X 1 Etalonnage et maintenance - Page 17
Parcourez en ligne ou téléchargez le pdf Etalonnage et maintenance pour {nom_de_la_catégorie} Epson DX5 X 1. Epson DX5 X 1 22 pages. Printhead
Également pour Epson DX5 X 1 : Etalonnage et maintenance (22 pages)

9.4
9.4
Daily
Daily
Maintenance
Maintenance
9.4 Daily
9.4
Daily Maintenance
Maintenance
1. Print the nozzle checking before turn off the machine to make sure the printhead is in normal condition
2. Turn off the software, carriage go back to Home position automatically. Turn off the machine, the carriage stay
at the Home position.
3. Use sponge stick with appointed Flush to clean the cap and the wiper everyday before turning on the machine.
9.5
9.5
Short
Short
term
term
shut
shut
9.5 Short
9.5
Short term
term shut
shut down
1. Disconnect the tube connector on top of the damper. Use Standard clean mode to empty the ink in the damper.
(2 times)
2. Use a extend tube to connect the damper to the appointed Flush.
Choose Depth clean mode to clean the damper and the printhead at the same time.(2 times)
3. Take out the extend tube from the Flush, and keep it out in the air. Choose Depth clean mode to empty the
Flush inside the damper and the printhead. Use the tube cover to seal the ink incoming tube, keep the cartridge
back to Home position and make sure the capping pad is perfectly capping the printhead.
9.6 Long
9.6
9.6
9.6
Long term
Long
Long
term
term shut
term
shut
shut
shut down
1. Print status before turn off the machine, make sure printhead in good condition..
2. Disconnect the tube connector on top of dampers, let the ink flow back to the cartridge.
3. Use the extend tube to connect them to the appointed Flush. Choose Depth clean mode to clean the damper
and the printhead at the same time. Clean one color at a time, use a cap to cover other three color channel.
down
down
(3~7
(3~7
days)
days)
down (3~7
(3~7 days)
days)
down
down (More
down
(More
(More
(More than
than
than a a a a week)
than
week)
week)
week)
17
