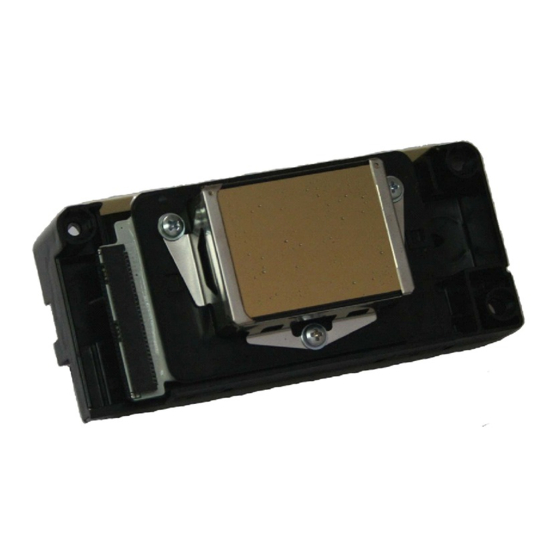
Epson DX5 X 2 Etalonnage et maintenance - Page 19
Parcourez en ligne ou téléchargez le pdf Etalonnage et maintenance pour {nom_de_la_catégorie} Epson DX5 X 2. Epson DX5 X 2 25 pages. Printheads
Également pour Epson DX5 X 2 : Etalonnage et maintenance (26 pages)

Chapter
Chapter
Chapter
Chapter
9. 9. 9. 9. Maintenance
Maintenance
Maintenance
Maintenance
9.1
9.1
Normal
Normal
Cleaning
Cleaning
9.1
9.1 Normal
Normal Cleaning
Cleaning
Click Clean on the main interface of the software. There are two modes of cleaning, Normal
different combination.
9.2
9.2
9.2 Cleaning
9.2
Cleaning
Cleaning
Cleaning procedures
procedures for
procedures
procedures
1. Disconnect the tube connector for the tube from cartridge to the damper. Choose Standard clean mode the
suck out the ink in the damper. (2 times)
2. Use an extend tube to connect the damper, put the other side of the extend tube into the appointed Flush.
Choose Depth clean mode to clean the damper and the printhead at the same time.(3 times)
3. Take out the extend tube from the Flush, and keep it out in the air. Choose Depth clean mode to suck out the
Flush inside the damper and the printhead. After that connect the damper to the ink incoming tube and fill ink
again.
4. Test print.
9.3
9.3
9.3
9.3 Carriage
Carriage
Carriage
Carriage Bearing
Bearing
Bearing
Bearing and
Due to the carriage slides on four steel plates and eight bearing, clean and lubricate four steel plates with grease
everyday.
Ⅰ. Wipe a thin layer of grease on steel plates to maintain cleanliness and grease everyday before and after
usage.
Ⅱ. Be aware of the smoothness of the carriage bearing
All manuals and user guides at all-guides.com
for
for
for nozzle
nozzle
nozzle
nozzle clogging:
clogging:
clogging:
clogging:
and
and
and Steel
Steel
Steel
Steel Rail
Rail
Rail
Rail Maintenance
Maintenance
Maintenance
Maintenance
19
Normal and Strong
Normal
Normal
Strong for
Strong
Strong
