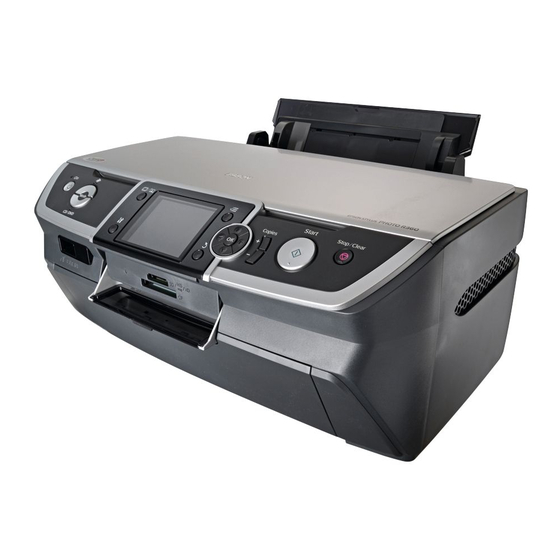
Epson R380 - Stylus Photo Color Inkjet Printer Commencer ici Manuel - Page 5
Parcourez en ligne ou téléchargez le pdf Commencer ici Manuel pour {nom_de_la_catégorie} Epson R380 - Stylus Photo Color Inkjet Printer. Epson R380 - Stylus Photo Color Inkjet Printer 8 pages. Ultra hi-definition photo printer
Également pour Epson R380 - Stylus Photo Color Inkjet Printer : Fiche technique (6 pages), Manuel (13 pages), Fiche technique (11 pages), Brochure (2 pages), Liste des pièces Manuel (8 pages)

5
Install Software
Installez les logiciels
Your software works with Windows
XP Professional x64 Edition and
Vos logiciels fonctionnent avec Windows
Édition Professionnel x64 et
Windows
1
Make sure the R380 Photo Printer is
NOT CONNECTED to your computer.
Vérifiez que l'imprimante N'EST PAS
CONNECTÉE à l'ordinateur.
Note: If you see a screen like this,
click Cancel and disconnect the
USB cable. You can't install your
software that way.
Remarque : Si une fenêtre comme
celle-ci s'affiche, cliquez sur Annuler
et débranchez le câble USB. Vous ne
pouvez pas installer les logiciels de
cette façon.
2
Insert the Ultra Hi-Definition R380 Photo
Printer CD.
Insérez le CD-ROM de l'imprimante dans
le lecteur.
3
Click Install and follow
the on-screen instructions
to install software
and print a test page.
Software installation takes
several minutes.
Cliquez sur Installer et
suivez les instructions qui
s'affichent. L'installation
des logiciels prend
quelques minutes.
4
When you see this screen,
click the first option and then
click Next, unless the printer is
connected to your computer
through an external print server.
Quand cet écran s'affiche, cliquez
sur la première option et cliquez
sur Suivant, à moins que
l'imprimante ne soit raccordée
par l'entremise d'un serveur
d'impression externe.
If you're using an external print server, click the second option,
click Next, then skip to step 6.
Si vous utilisez un serveur d'impression externe, cliquez sur la
deuxième option, cliquez sur Suivant, puis passez à l'étape 6.
5
When prompted,
connect the USB
cable. Use any open
USB port on your
computer.
À l'invite, connectez
le câble USB. Utilisez
un port USB libre de
l'ordinateur.
Note: If installation doesn't continue after a moment, make sure you
securely connected and turned on the printer.
Remarque : Si l'installation ne se poursuit pas après un moment,
vérifiez que l'appareil est sous tension et correctement raccordé.
6
When you're done, remove the CD and restart the computer.
Quand vous avez terminé, retirez le CD-ROM et redémarrez
l'ordinateur.
You're ready to print. See the Printer Basics or your on-screen User's Guide.
Vous êtes prêt à imprimer. Consultez le guide Élements de base ou votre
Guide de l'utilisateur électronique.
®
98SE, Me, 2000, XP, and
®
Macintosh
OS X 10.2.8 to 10.4.x.
®
98SE, Me, 2000, XP, XP
®
Macintosh
OS X 10.2.8 à 10.4.x.
