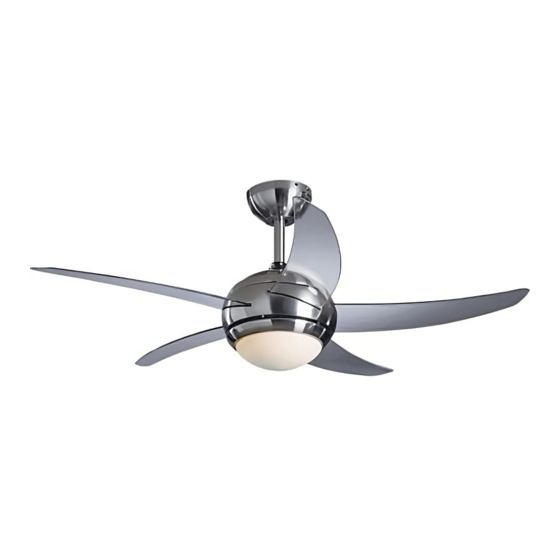
Argos Manhattan 432/5114 Instructions d'assemblage - Page 3
Parcourez en ligne ou téléchargez le pdf Instructions d'assemblage pour {nom_de_la_catégorie} Argos Manhattan 432/5114. Argos Manhattan 432/5114 5 pages. Remote control ceiling fan

FIGURE 4
MOUNTING PLATE
keep for future reference
GROOVE
TAB
CEILING
CANOPY
DOWNROD
FIGURE 5
BLADE
SCREW
LAMP
HOLDER
SCREW &
STAR WASHER
FIGURE 6
Important
- Please rFAN e instruct
LAMP HOLDER
LAMP SHADE
BAYCNET
LOCATING
SLOT
SCREW
HCLE
INFRARED
RAY RECEIVER
BALL JOINT
FAN MOTOR HOUSING
FAN MOTOR
HOUSING
FAN MOTOR
HOUSING
CONNECTION TO THE LIGHT CIRCUIT
Ensure electricity is switched off at the mains before installing or main-
taining this fitting. Any switches connected to the ceiling fan must con-
form to the necessary British Standards. If you are not sure how to wire
the ceiling fan consult a qualified electrician. For the basic means of
wiring the ceiling fan, use the following procedure (Figure 3)
Blue or black (Neutral) to the terminal marked N
Brown or Red (Live) to the terminal marked L
Green/Yellow or Green (Earth) to the terminal marked
Ensure that earth terminal of the canopy is securely connected to the
earth pole of the terminal block.
Ensure that all electrical connections are tight and that no loose strands
are left out of the terminal block. Cover the terminal block with insulat-
ion tape. Warning: If there are only two wires in your existing mains
wiring, this means that there is no Earth. Under no circumstance should
you wire up this fitting without using an Earth connection.
Ask a qualified electrician to provided an Earth facility.
The installation must be provided with a double pole switch.
ASSEMBLY OF THE FAN BLADES AND LAMP HOLDER
1. Install the fan blades sets onto motor by tightening the hexagonal
screws and spring washers.
2. Connect the upper plug connector from the motor to the lower plug
connector from the lamp holder.
3. Secure the lamp holder onto the fan motor housing by tightening
the 3 set screws. (CAUTION: Make sure the set screws are fitted
properly into the key slots) (Figure 5)
Attention: Ensure the star washers to be secured tightly to lamp holder
with set screws.
FITTING THE LIGHT
1. Insert 40W E14 bulb (not included) into the lamp holder. Do not use a
higher wattage bulb.
2. Install the lamp shade onto the lamp holder by rotating the lamp
shade clockwise. (Figure 6)
3. The light is switched on and off by the use of remote control.
REMOTE CONTROL
Use the remote control transmitter to change the speed of the fan and to
switch the light and fan on or off. Replace the batteries by sliding the
battery compartment cover on the romote control transmitter in the
direction of the arrow, fit 2 *AAA batteries, ensure the polarity of the
batteries match with the figures shown in the battery compartment.
(Note: Batteries NOT included.) Replace the battery compartment cover.
Always ensure the battery compartment cover is closed properly.
Don't expose the remote control to direct sunlight.
Don't attempt to recharge non-rechargable batteries. There are special
rechargable batteries, which are clearly marked with.
Don't dispose of batteries in fire to avoid explosion.
REVERSE CONTROL
The fan must be switched off before this slide switch, located on the side
of the switch housing is operated.
Switch upwards for REVERSE winter operation.
Switch downwards for FORWARD summer operation.
CLEANING
Wipe with a soft dry cloth or use a soft brush to remove dust. Care
should be taken that no water or moisture gets into the ceiling fan.
Do not use water to clean the ceiling fan. Do not use metal polish or
abrasive cleaning materials on any part. A small amount of furniture
polish can be used to clean the fan blades. When cleaning the fan
blades do not apply too much pressure on the them. It is recommended
that you support the ends of the blades when you clean them.
