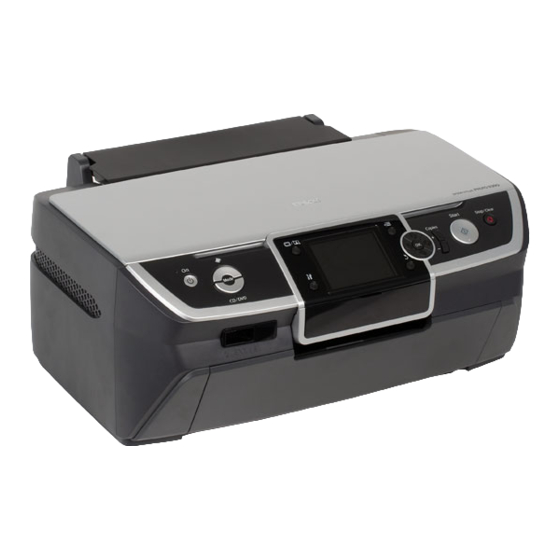
Epson Stylus Photo R390 Manuel de l'utilisateur - Page 23
Parcourez en ligne ou téléchargez le pdf Manuel de l'utilisateur pour {nom_de_la_catégorie} Epson Stylus Photo R390. Epson Stylus Photo R390 36 pages.
Également pour Epson Stylus Photo R390 : Commencer ici (1 pages), Liste des pièces Manuel (8 pages)

Setting the Printer Preferences
Restoring to Default Settings
After you change your settings, you may want to reset
the printer's settings (such as the layout, color effects,
or crop settings) to the default settings before printing
other photos.
1.
Press the F [Setup] button to open the Setup
menu.
2.
Press the l or r button to select Restore Factory
Settings, then press the OK button.
3.
Press the OK button to restore the settings to their
defaults.
Note:
Not all settings are returned to their defaults using the Restore
Factory Settings function.
Setting the Screen Saver
You can set photos on the inserted memory card as the
screen saver on the LCD screen. After about 3 minutes
of inactivity the screen saver comes on. After about 10
minutes the printer enters sleep mode.
1.
Press the F [Setup] button to open the Setup
menu.
2.
Press the l or r button to highlight
Maintenance, then press the OK button.
3.
Press the u or d button to select Screen Saver
Settings, then press the OK button.
4.
Select Memory Card Data and press the OK
button.
Changing the Language
Displayed on the LCD Screen
1.
Press the F [Setup] button.
2.
Press the l or r button to highlight
Maintenance, then press the OK button.
3.
Press the u or d button to select Language, then
press the OK button.
4.
Press the u or d button to select the Language that
you want to display.
5.
Press the OK button.
Setting the Printer Preferences
23
