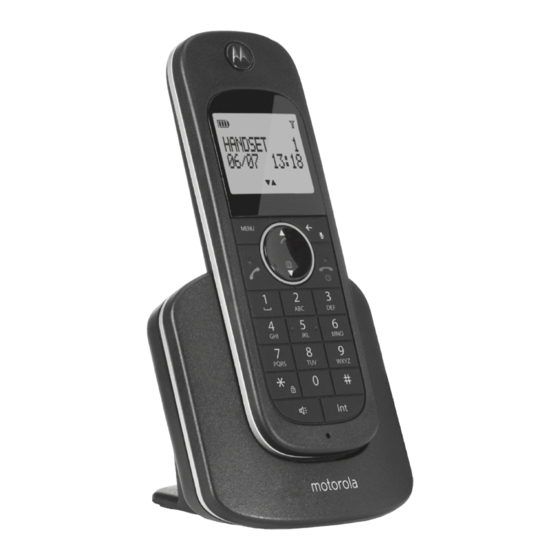
Motorola D10 SERIES Manuel de l'utilisateur - Page 7
Parcourez en ligne ou téléchargez le pdf Manuel de l'utilisateur pour {nom_de_la_catégorie} Motorola D10 SERIES. Motorola D10 SERIES 50 pages. Digital cordless phone
Également pour Motorola D10 SERIES : Manuel de l'utilisateur (39 pages)

1. Getting started
IMPORTANT
Do not place your D10 in the bathroom or other humid areas.
Location
You need to place your D10 base within 2 metres of the mains power socket and telephone
wall socket so that the cables will reach. The socket-outlet should be installed near the
equipment and should be easily accessible.
Make sure it is at least 1 metre away from other electrical appliances to avoid interference.
Your D10 works by sending radio signals between the handset and base. The strength of
the signal depends on where you place the base. Putting it as high as possible ensures the
best signal.
HANDSET RANGE
The unit has a range of up to 300 metres outdoors when there is a clear line of sight
between the base and handset. Any obstruction between the base and handset will
reduce the range significantly. With the base indoors and the handset either indoors or
outdoors, the range will normally be up to 50 metres. Thick concrete and stone walls can
severely affect the range.
SIGNAL STRENGTH
The
icon on your handset indicates that you are within range of the base. When out of
range of the base, the screen shows
SEARCHING
and the
icon flashes.
If you are on a call, the line will hang up if the handset moves out of range of the base.
Move back within range. The handset will automatically re-connect to the base.
Setting up
IMPORTANT
The base station must be plugged into the mains power at all times. Do not connect the
telephone line cord into the wall socket until the handset is fully charged. Use only the
power adaptor and telephone line cord supplied with the product.
WHICH POWER ADAPTOR?
The power adaptor with a clear connector is for the base unit and the power adaptor with
a red colour connector is for the charger unit.
Getting started
7
