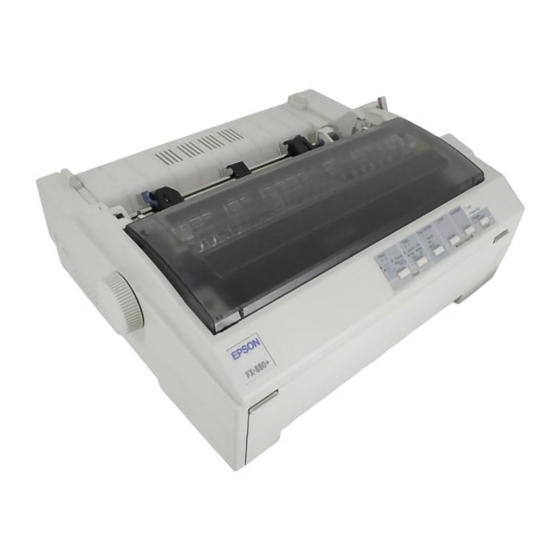
EPSON FX-880+/FX-1180+
Setting the Paper Release Lever
Set the paper release lever to indicate the paper source you want
to use, as described in the table below.
Lever position
Description
Single-sheet position
For loading single-sheet paper from the top or front
slot.
Front push tractor position
For loading continuous paper with the tractor
installed in the front push position or when using
the front push and pull tractors in combination.
Rear push tractor position
For loading continuous paper with the tractor
installed in the rear push position or when using
the rear push and pull tractors in combination.
Pull tractor position
For loading continuous paper from the tractor
installed on top of the printer in the pull position.
You can load paper in the front, rear, or bottom
slot.
Adjusting the Paper-Thickness Setting
Set the paper-thickness setting for the type of paper you are
using.
10 - EPSON FX-880+/FX-1180+
.
Paper type
Ordinary paper
Thin paper
Carbonless multipart forms with:
2 parts (original + 1 copy)
3 parts (original + 2 copies)
4 parts (original + 3 copies)
5 parts (original + 4 copies)
6 parts (original + 5 copies)
Continuous paper with labels
Envelopes
When the temperature is 41°F (5°C) or less, set the
paper-thickness lever one position lower to improve
print quality. When the temperature is 95°F (35°C) or
more, set the paper-thickness lever one position higher
to improve print quality.
Using the Micro Adjust Function
The Micro Adjust function allows you to move the paper
forward or backward in 1/216-inch (0.118 mm) increments to
adjust the tear-off and top-of-form positions.
Adjusting the tear-off position
If your paper's perforation is not aligned with the tear-off edge,
you can use the Micro Adjust function to move the perforation
to the tear-off position. Your tear-off position setting remains in
effect until you change it, even if you turn off the printer.
Never use the knob to adjust the tear-off position; this
may damage the printer or cause it to lose the tear-off
position.
1. Make sure the Tear Off/Bin light is flashing (the paper is at
the current tear-off position). You may need to press the
button to advance the paper to the tear-off
Tear Off/Bin
position.
10/01
Lever position
0 or 1 (single sheets)
0 (continuous paper)
-1 or 0
1
2
3
4
5
2
2 to 6

