MSI 12TC-059US Manuel
Parcourez en ligne ou téléchargez le pdf Manuel pour {nom_de_la_catégorie} MSI 12TC-059US. MSI 12TC-059US 31 pages.
If you have any further questions regarding your new computer, please do not hesitate to contact us either through the online customer service site
https://us.msi.com/support or by contacting our customer support at 1-626-271-1004, Monday to Friday from 9:00 a.m. to 6:00 p.m. Pacific Standard Time. You can
also contact technical support by calling 1-888-447-6564, Monday to Friday open 24 hours (Weekend and Public Holiday closed). We will reply to you as soon as possible.
Step 1
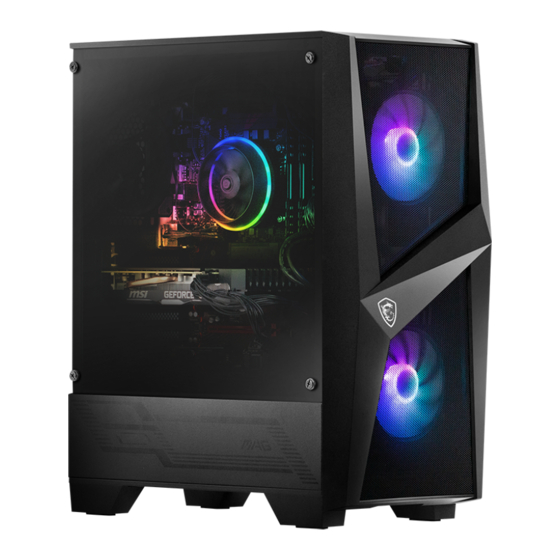
REMOVE THE TEMPERED GLASS SIDE PANEL
Remove the four thumbscrews on the tempered glass side panel. And gently
remove the tempered glass panel away from the case and place it in a safe area.
Step 3
INSPECT YOUR PC
Make sure all components and cables are seated firmly. Now, you can replace
the tempered glass side panel and secure with thumbscrews.
Step 5
CONNECT WIFI ANTENNAE, KEYBOARD & MOUSE
Screw the Wi-Fi Antennae to the gold contact points on the rear of the case.
Plug the mouse and the keyboard into any of the USB ports.
IMPORTANT
PLEASE READ BEFORE TURNING ON THE DESKTOP
Step 2
Carefully pull the foam packaging out the system. It should come out easily
without having to apply any force.
Step 4
Connect your monitor to either display ports or HDMI ports on the graphics
cards.
Step 6
Plug the power cable into the power cable socket and plug the other end of
the power cable into a power outlet. Turn the power supply switch on by
having the "I" symbol on the switch pressed down. Press the power button.
REMOVE THE FOAM PACKAGING
Know Your Video Connectors
CONNECT YOUR MONITOR
POWER ON YOUR DESKTOP
Scan for setup
video guides
USB Type-C
Mini DisplayPort
DVI
HDMI
DisplayPort
G52-B0Y22X1-LAX