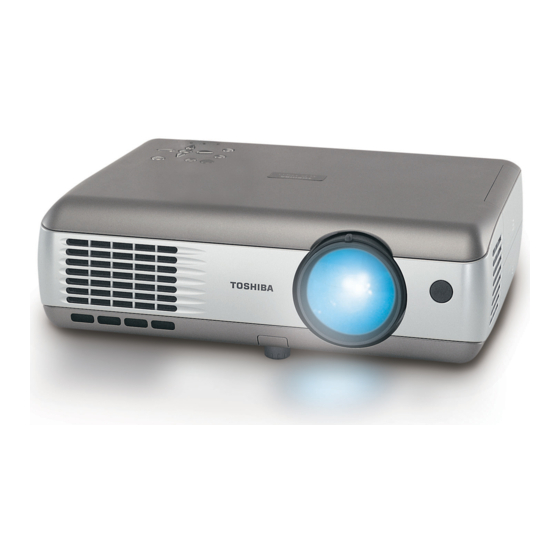
Toshiba TLP S221 Manuel du propriétaire - Page 27
Parcourez en ligne ou téléchargez le pdf Manuel du propriétaire pour {nom_de_la_catégorie} Toshiba TLP S221. Toshiba TLP S221 37 pages. 3lcd data projector

Operating a computer using the remote control
A computer can be operated using the projector's remote control. This function is available
on any computer with the Windows 98/98SE, Windows Me, Windows 2000, or Windows XP
OS, that is equipped with a USB port which can support USB1.1 (The mouse remote
control receiver is also supported on OS 9 or OS X for the Macintosh). However, please
note that Toshiba does not guarantee the operation of all computers.
1
Connecting a computer
Connect the projector to a computer using the supplied USB cable. See Fig. (1) below.
For models equipped with PC card slot, connect the supplied Mouse remote control
receiver to the computer. See Fig. (2) below.
(1)
To USB port
USB
MONITOR
1
COMPUTER
2
( Y,P
/P
)
B
R
CONTROL
2
Operating a computer
The mouse remote control function is available when the remote control is set to [PC
Mode]. (See "Switching operation modes"
Point the remote control at the infrared remote sensor (in models using Mouse
remote control receivers, point it at the Mouse remote control receiver), and
operate the remote control's buttons.
G Moving the mouse pointer
Move the pointer control button in the direction that you wish the mouse pointer to
move, then press.
G To left click
Press the L-CLICK button.
G To right click
Press the R-CLICK button.
G To drag and drop
Move the pointer control button in a (L-)clicked state, then when the pointer is over
the desired location, release the button.
G Using the computer's up and down arrow key functions
Press the
and
buttons to switch PowerPoint
Remote Control Front
Pointer control
VOL.-
VOL.+
PJ MODE
LASER
MENU / ENTER
R-CLICK
INPUT
R-CLICK
(2)
To USB port
Mouse remote control receiver
p.20
.)
®
slides.
Remote Control Rear
L-CLICK
52
Using the menus
You can call up on-screen menus, and conduct a number of adjustments and settings,
using the operation buttons
p.16
on the control panel (main unit side) and remote control.
I How to use the menus
The menu shown below is only for operation instructions and might be different from
the actual display.
1. Start
2. Select a Category
Select a category by using
.
There are following four
categorys.
Image adjustment menu
p.54
Default setting menu
p.54
Display setting menu
p.55
PC card setting menu
p.55
Press
of the selected category.
3. Adjustments & Settings
Item
Adjustment/Setting Value
These marks signify the
items can be adjusted/set
by using
.
These marks signify an
item can be switched by
using
.
The figure shows a typical example.
As the display may differ depending
on the item, use the following pages
as a reference.
These marks signify the items can be selected from
the list by using
.
After an item selected, apply it by pressing
4. Back
Note
• Menu adjustments and settings (except Lamp power
turned off via the ON/STANDBY button. If the power cord is unplugged before this, or the
power goes out, then the data will not be saved.
Display the Setting display menu
Displays the current
adjustments of selected
category.
Item shown with gray
cannot be adjusted for the
current input source.
to open the menu
5. To Finish
Finish via the Status
display menu.
This mark signfy that
there are options.
Press
to display a
To Status display
list of options.
p.32
.
6. End
The menu disappears
p.54
) are saved when the power is
53
