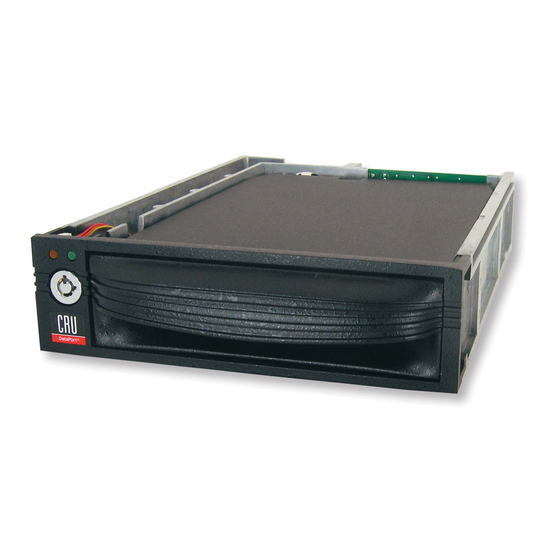
CRU DataPort DP10 Manuel de démarrage rapide - Page 3
Parcourez en ligne ou téléchargez le pdf Manuel de démarrage rapide pour {nom_de_la_catégorie} CRU DataPort DP10. CRU DataPort DP10 4 pages.

3 Carrier Ejection
a. Turn off the computer when the computer is not accessing the installed drive. You may optionally
dismount the drive from the system before powering it off by using a third party SATA hotswap utility.
b. To power off the unit and unlock the carrier, follow these steps for your version of the DP10:
• For the keylock version, use the included DataPort Key to turn the keylock 90 degrees counter-
clockwise.
• For the latched version, push in on the latch and turn it 90 degrees counterclockwise.
c. Pull the carrier by the handle towards you to remove it from the frame.
4 Drive Installation
a. Use a Phillips-head screwdriver to remove the screw securing the carrier cover to the back of the car-
rier, then slide the cover off.
b. Insert a SAS or SATA drive (either an HDD or SDD) into the unified power and data connector inside
the carrier.
c. Secure the drive to the carrier by using the mounting screws provided.
d. Attach the Temperature Control Cooling System sensor to the top of the hard drive with a piece of tape.
e. Replace the cover and secure it with the screw you removed in Step B into the rear of the carrier.
f.
Reinsert the carrier into the frame.
5 Operating Your DP10
a. If you have not already done so, slide your SAS or SATA DP10 carrier into an open DP10 frame on
your computer.
b. To lock and power on the DP10, follow these steps for your version:
• For the keylock version, use the included DataPort Key to turn the keylock 90 degrees clockwise.
• For the latched version, push in on the latch and turn it 90 degrees clockwise.
Your DP10 is now ready to use! If the drive inside is already formatted, it can be used right away. If the
drive is brand new, or its format is not compatible with your computer, the drive will need to be formatted
before being used.
Formatting a drive will result in data loss, so be sure to back up your data before beginning
this operation.
DataPort DP10 Quick Start Guide
3
