CRU Dataport ToughTech Q with WriteLock Manuel de l'utilisateur - Page 2
Parcourez en ligne ou téléchargez le pdf Manuel de l'utilisateur pour {nom_de_la_catégorie} CRU Dataport ToughTech Q with WriteLock. CRU Dataport ToughTech Q with WriteLock 12 pages. Hard drive enclosure
Également pour CRU Dataport ToughTech Q with WriteLock : Manuels de démarrage rapide (2 pages)

CRU
Table of Contents
1.1 Accessories
1.2 Identifying parts of the unit
1. Pre-Installation Steps
1.1 Check the accessories with your ToughTech Q.
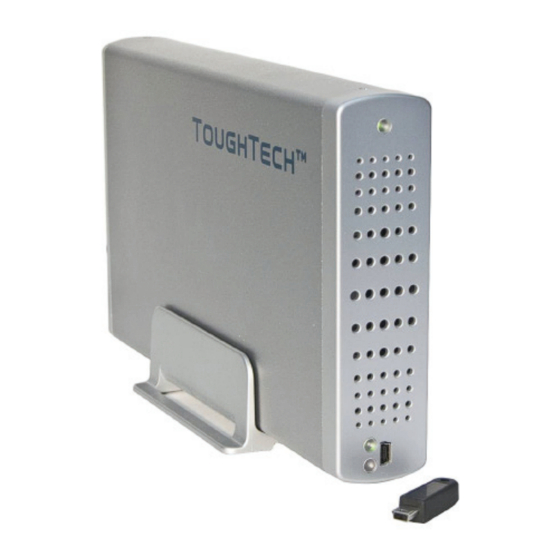
ToughTech Q
ToughTech enclosure
eSATA cable
USB cable
FireWire 800 cable
FireWire 800 to 400 cable
Screws for hard drive
AC adapter
Quick Start Guide and Warranty info
1.2 Identify the parts of your ToughTech Q.
Front
U s e r M a n u a l f o r T T - Q , T T S - Q ( A9 - 0 0 0 - 0 0 0 1 r e v 1 . 5 )
ToughTech Secure Q
ToughTech enclosure
1
eSATA cable
1
USB cable
1
FireWire 800 cable
1
FireWire 800 to 400 cable
1
4
Screws for hard drive
AC adapter
1
Quick Start Guide and Warranty info
1
Encryption Keys
A
= Power/Access indicator LED
B
= Encryption key slot & LEDs (Secure model only)
C
= FireWire 800 (1394b) ports
D
= USB 2.0 port
E
= eSATA port
F
= Power input (from AC adapter)
G
= WriteLock enable button (for models with WriteLock only)
H
= WriteLock LED (for models with WriteLock only)
I
= Kensington lock security slot
Rear
2
2
2
3
3
3
5
6
7
8
10
11
12
1
1
1
1
1
4
1
1
3
- 2 -
