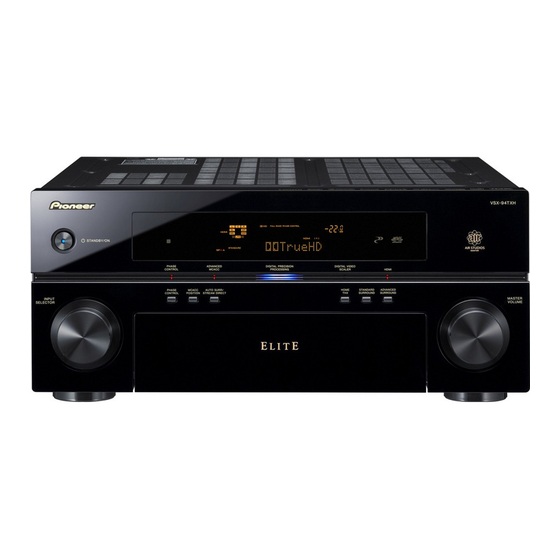
Pioneer ELITE VSX-92TXH Manuel d'instructions - Page 7
Parcourez en ligne ou téléchargez le pdf Manuel d'instructions pour {nom_de_la_catégorie} Pioneer ELITE VSX-92TXH. Pioneer ELITE VSX-92TXH 8 pages. Elite a/v receiver firmware update instructions for hdmi, dsp, event, and main microcomputers, dsp1 & dsp2 flash rom
Également pour Pioneer ELITE VSX-92TXH : Spécifications (2 pages)

II. DSP1 & DSP2 FLASH ROM
Note: When using Pioneer DVD players, only certain models can be used. They are models based on the MTK
system (DV-270, 280, etc), Mitsubishi system (DV59AVI, etc), or Fujitsu system (DV-343, 444, etc).
DO NOT use Players based on the ST system (DV353, 563, etc) because these players can't send the correct data
to the receiver. Refer to the "DVD Firmware Matrix by Model" on Pioneer's ASC website for a complete list.
DO NOT disconnect the AC from the A/V Receiver or the DVD player during the download process!
1. Connect the CD or DVD player via Coaxial Digital output to the Receiver Coaxial Digital IN 1 (DVD/LD).
If Optical Digital output is only Digital output on the player, connect to the Optical Digital IN 1 (Sat).
2. Using the "INPUT SLECTOR" dial, select the input the CD or DVD player is connected to.
3. Confirm the Digital signal is received by:
a. Put the DSP Flash Rom Firmware disc into the CD or DVD player's tray and press play.
b. Set receiver "Signal select" to Auto and then check if Receiver detect "PCM" from DVD Player. It
should show "PCM" on the front panel display of receiver.
4. Press the "STOP" key on the CD/DVD Player.
5. Setup the receiver for update mode:
a. Confirm the unit has been returned to the Factory Default Settings. See "I. HDMI, DSP, EVENT,
and MAIN microcomputers", "Preparations" on page 2. Turn off the unit.
b. Enter Service Mode by holding the "ENTER" (21) and then the "MULTI- ZONE ON/OFF" (15) keys
together for about 3 seconds.
c. Within 4 seconds press the
d. Within 4 seconds press the "ENTER" (21) key and "DSP1 DL [GO ON]" or "DSP2 DL [GO ON]"
is displayed.
6. Press the "PLAY" key on the CD or DVD player to start playback of the DSP Flash Rom Firmware disc.
7. Confirm the HDMI indicator is flashing on front panel of the receiver.
After 5-10 seconds, the HDMI indicator starts flashing. This indicates that a correct data stream is being
received and that updating is in progress.
8. Rewriting is completed when "OK" is displayed in front panel of the receiver. It takes approx. 2 minutes for
DSP1 and 15 seconds for DSP2 to complete.
9. Turn off the unit (Press standby power button in front of unit-top left corner) and stop the player.
III. Check the firmware version.
1. With the Receiver is in standby mode (off), enter Service Mode by holding the "ENTER" (21) and then the
"MULTI- ZONE ON/OFF" (15) keys together for about 3 seconds.
2. Within 4 seconds press the
Key
M1.006
DISP 1.000
VI. Return the Receiver to Factory Default Settings:
•
Follow the steps under "I. HDMI, DSP, EVENT, and MAIN microcomputers", "Preparations:" on page 2.
(21) key to select "DSP1 DL [START]" or "DSP2 DL [START]".
(21) key to select the version display as shown below.
Display
E1.002
D1.004
H1.006
f2.007
s1.000
M = MAIN u-com
DISP = DISPLAY u-com
D = DSP u-com
f = 1st DSP flash
7
E = EVENT u-com
H = HDMI u-com
s = 2nd DSP flash
Pioneer Electronics Service, Inc
SE Dept, QA Division
Rev date: 07/02/2008
