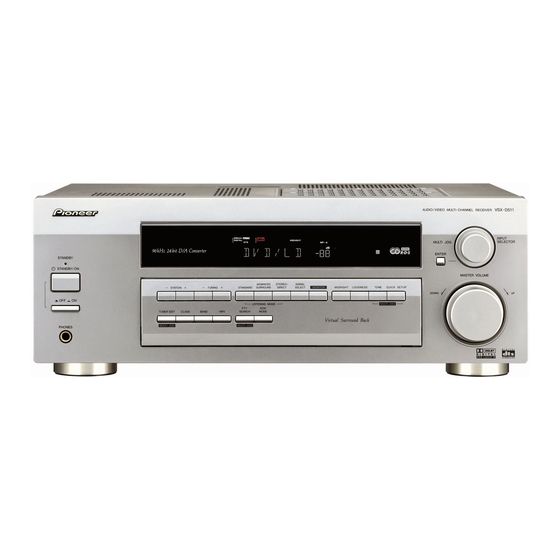
Pioneer VSX-D511 - Audio/Visual Receiver Manuel d'utilisation - Page 12
Parcourez en ligne ou téléchargez le pdf Manuel d'utilisation pour {nom_de_la_catégorie} Pioneer VSX-D511 - Audio/Visual Receiver. Pioneer VSX-D511 - Audio/Visual Receiver 44 pages. Audio/video multi-channel receiver

03
Connecting up
Connecting digital components
For proper decoding of Dolby Digital/DTS soundtracks, you need to make digital audio connections.
You can do this by either coaxial or optical connections (you don't need to do both). The quality of
these two types of connections is the same, but since some digital components only have one type
of digital terminal, it is a matter of matching like with like (for example, the coaxial output from the
component to the coaxial input on the receiver). This receiver has both a coaxial and an optical
input for a total of two digital inputs. Connect your digital components as shown below.
When connecting your equipment, always make sure the power is turned off and the power cord is
disconnected from the wall outlet.
Connecting audio components
To begin set up, connect your analog audio components (such as a cassette deck) to the jacks. For
components you want to record with, you need to hook up four plugs (a set of stereo ins and a set of
stereo outs), but for components that only play, you only need to hook up one set of stereo ins (two
plugs). You should also hook up your digital components to analog audio jacks if you want to record
to/from digital components (like an MD) to/from analog components. See above for more on digital
connections.
When connecting your equipment, always make sure the power is turned off and the power cord is
disconnected from the wall outlet.
CD player
CD-R/Tape/MD Deck
12
En
DIGITAL
OUT
(OPTICAL)
DIGITAL
OUT
(COAXIAL)
ANALOG
OUT
ANALOG
IN (REC)
ANALOG
OUT (PLAY)
CD player
The arrows
indicate the
direction of the
audio signal.
DVD player
The arrows
indicate the
direction of the
audio signal.
