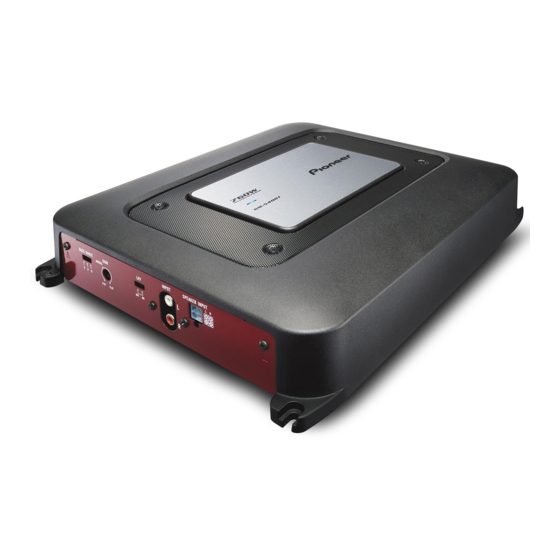
Pioneer GM5400T - Bridgeable Amplifier Manuel du propriétaire - Page 9
Parcourez en ligne ou téléchargez le pdf Manuel du propriétaire pour {nom_de_la_catégorie} Pioneer GM5400T - Bridgeable Amplifier. Pioneer GM5400T - Bridgeable Amplifier 17 pages. Bridgeable two-channel power amplifier
Également pour Pioneer GM5400T - Bridgeable Amplifier : Manuel du propriétaire (41 pages), Manuel du propriétaire (48 pages), Manuel du propriétaire (17 pages), Manuel d'entretien (29 pages)

@ Terminal screws
®
Battery
wi
ie
®
Ground wire
(7) C::"dorn rornAto ('Antral IA/lro
riI
\.!J
""'}Ul.. ..... 'I"
.... 1I1V'""' ...... ""I''-'
V'I",I.-J
(
Conn~dintl th~ unit~
)
\. ....._-_-_-_-_- -_-_-_-_-_-_- WI-'----_-_-_-_-_--_-_--
/
2
Twist the battery wire, ground wire
and system remote control wire.
Twist
--~
3
Attach lugs to wire ends. Lugs not sup-
plied.
Use pliers, etc., to crimp lugs to wires.
CD
Lug
(2) Battery wire
®
Ground wi re
4
Connect the wires to the terminal.
Fix the wires securely with the terminal
screws.
CD
System remote control terminal
(2) GND terminal
®
Power terminal
section
C
)
en
-
m
:::s
CC
-
i '
:::s'
Connecting the speaker
output terminals
1
Expose the end of the speaker wires
using nippers or a cutter by about 10 mm
(3/8
inch) and twist.
Twist
--~i
r-r
10 mm (3/8 inch)
2
Attach lugs to speaker wire ends. Lugs
not supplied.
Use pliers, etc., to crimp lugs to wires.
CD
Lug
(2) Speaker wire
3
Connect the speaker wires to the
speaker output terminals.
Fix the speaker wires securely with the term-
inal screws.
En
CD
