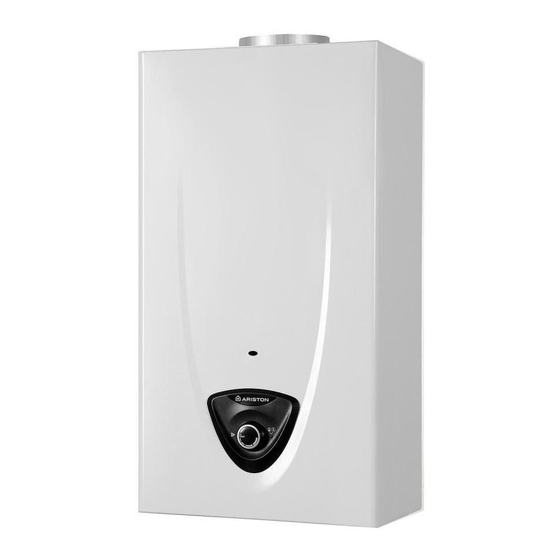
Ariston FAST EVO ONT B 14 Manuel de l'utilisateur - Page 19
Parcourez en ligne ou téléchargez le pdf Manuel de l'utilisateur pour {nom_de_la_catégorie} Ariston FAST EVO ONT B 14. Ariston FAST EVO ONT B 14 29 pages. Instantaneous gas water heater

Checking the gas settings
Supply pressure check
1.
Close the gas valve.
2.
Loosen screw "b" and insert the pressure gauge
connection pipe into the pipe tap.
3.
Open the gas valve.
4.
Switch the appliance ON by opening a DHW tap.
The supply pressure should correspond to the
value established in relation to the type of gas for
which the appliance is designed.
5.
Switch the appliance OFF by closing the DHW tap.
WARNING!!
Should the power pressure not correspond to
what indicated on the Gas Summary Table, DO
NOT ACTIVATE THE DEVICE.
6. Close the gas valve.
7. When the check is over, tighten screw "b" and make
sure it is securely in place.
8. Open the gas valve and check the tightness of the
screw.
Checking the maximum and minimum pressure
(see the Gas setting table)
1.
Close the gas valve.
2.
Loosen screw "a" and insert the manometer
connection pipe into the pipe tap.
3.
Open the gas valve.
4.
Remove the batteries.
5.
Turn microswitch 1 to ON position and re-place the
batteries. Open one hot water tap.
(Test Mode ON - Flashing orange LED).
6.
Turn microswitch 2 to position ON
(Appliance forced to maximum power).
7.
Adjust maximum burner pressure using the orange
screw.
8.
Turn microswitch 2 to OFF position
(Appliance forced to minimum power).
9.
Adjust minimum burner pressure using the orange
screw.
10. At the end turn microswitch 1 to OFF position
again (test mode OFF). The LED is still orange - all
adjustments have been stored.
Close the hot water tap.
11. When the check is over, close the gas valve and
tighten screw "a", make sure it is securely in place
Open the gas valve and check the tightness of the
screw.
a
WARNING: Every time microswitch 1 is turned to
b
ON, you need to set both maximum and minimum
power.
Checking slow ignition power
(see the Gas setting table))
1.
Close the gas valve
2.
Loosen screw "a" and insert the manometer
connection pipe into the pipe tap.
3.
Open the gas valve
4.
Remove the batteries
5.
Turn microswitch 1 to ON position and re-place the
batteries. Open one hot water tap.
(Test Mode ON - Flashing orange LED)
6.
Turn microswitch3 to ON position
(Appliance forced to the ignition
7.
Adjust the slow ignition using the orange screw
8.
At the end turn microswitch 3 to OFF position
9.
Turn microswitch 1 to OFF position (test mode
OFF). The LED is still orange - all adjustments
have been stored.
Close the hot water tap.
10. When the check is over, close the gas valve and
tighten screw "a", make sure it is securely in place
Open the gas valve and check the tightness of the
screw.
1. Adjusting screw maximum / minimum
and Soft ignition power
2. Microswitch
WARNING
The settings of the maximum/minimum pressure and
the check of slow ignition must be made separately,
according to the instructions and completing the
procedure.
c
o
m
m
power).
ON
1 2 3 4 5 6 7 8
s i
s
o i
n
n i
g
1
2
19
