Aeotec ZW187 Manuel de l'utilisateur - Page 4
Parcourez en ligne ou téléchargez le pdf Manuel de l'utilisateur pour {nom_de_la_catégorie} Aeotec ZW187. Aeotec ZW187 9 pages. Recessed door sensor gen7
Également pour Aeotec ZW187 : Manuel (11 pages)

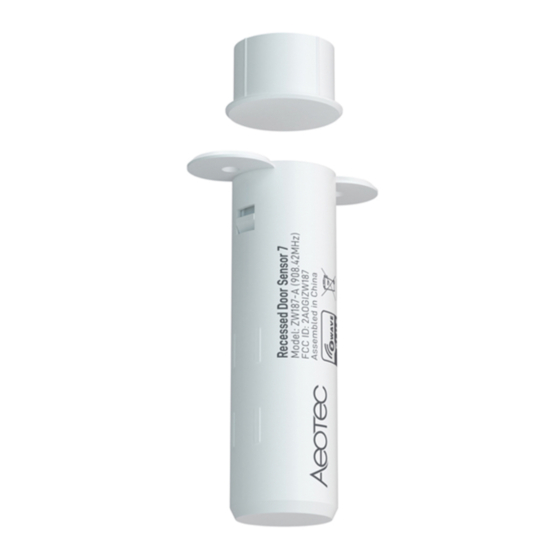
4. With the battery insulator removed, reinsert the internal components into Main Sensor's enclosure before
reattaching its lid. Ensure that Main Sensor's button aligns with the buttonhole of its lid. Main Sensor will now look as it
did prior to step 1.
Add Recessed Door Sensor to your Z-Wave network.
Getting your Recessed Door Sensor Gen7 up and running is as simple as powering it up, and adding it to your Z-
Wave network. There are 2 methods to pairing your sensor depending on the capabilities of your Z-Wave
gateway/controller/hub.
SmartStart Inclusion.
You can use this method of inclusion only if your Z-Wave gateway/controller/hub supports SmartStart.
1. Open up your Z-Wave gateway/controller/hub app over your Smartphone.
2. Select SmartStart inclusion.
3. Scan the QR code located on Recessed Door Sensor Gen7.
4. Once scanned, Recessed Door Sensor 7 will join your Z-Wave network automatically within 10 minutes from
when it is powered up.
Classic Inclusion.
1. Decide on where you want your Recessed Door Sensor 7 to be placed.
2. Set your Z-Wave Controller into pairing mode.
