3Com EtherLink XL 100 Manuel rapide - Page 4
Parcourez en ligne ou téléchargez le pdf Manuel rapide pour {nom_de_la_catégorie} 3Com EtherLink XL 100. 3Com EtherLink XL 100 8 pages. Network interface cards
4
F
E
AST
THER
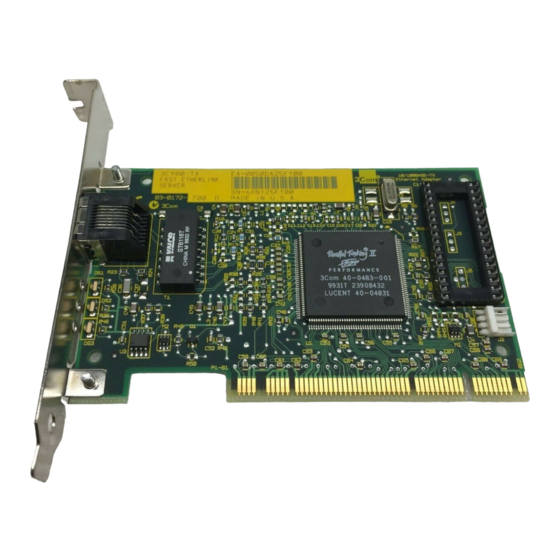
7 Secure the NIC with the screw you removed in step 5.
If you are installing the Remote Wake-Up cable, see
"Connecting the Remote Wake-up Cable" in Chapter 2
of the user guide to continue the installation. If you are not
installing the cable, continue with step 8.
8 Replace the PC cover.
9 Reconnect all power and peripheral cables.
Do not turn on the power to the PC.
10 Connect the appropriate network cable for your
network environment to the port on the NIC.
See Chapter 2 of the user guide for instructions on
connecting the network cable.
The next step is to install the NIC driver and software.
Installing the Driver and Software
This section describes how to install the NIC driver and
software on a PC running Windows 95 or Windows 98.
For other operating systems, see the user guide.
Windows 95
To install the NIC driver and software under Windows 95, you
need the Windows 95 installation files. These files may be on
a CD or diskettes, or they may have been copied to your hard
drive when Windows 95 was installed on your PC.
If you encounter problems during the installation, see
the W95NDIS.TXT file located in the HELP directory on
EtherDisk diskette 3 for troubleshooting tips.
Before installing the NIC driver and software:
To install the NIC driver and software in a PC running
Windows 95:
1 Turn on the power to the PC.
Windows 95 detects the NIC. Depending on the version of
Windows 95 that you have installed, the New Hardware
Found dialog box appears or the Update Device Driver
Wizard starts.
®
L
XL 10/100 PCI N
INK
Make sure that you have run the preinstallation
program, as described earlier in this guide.
Make sure that the NIC is installed in the PC and that
it is connected to the network.
I
C
ETWORK
NTERFACE
Q
G
ARDS
UICK
UIDE