Ariston ASL75CXSNA Manuel de réparation - Page 11
Parcourez en ligne ou téléchargez le pdf Manuel de réparation pour {nom_de_la_catégorie} Ariston ASL75CXSNA. Ariston ASL75CXSNA 18 pages. Condensation dryer
Également pour Ariston ASL75CXSNA : Fiche technique (1 pages)
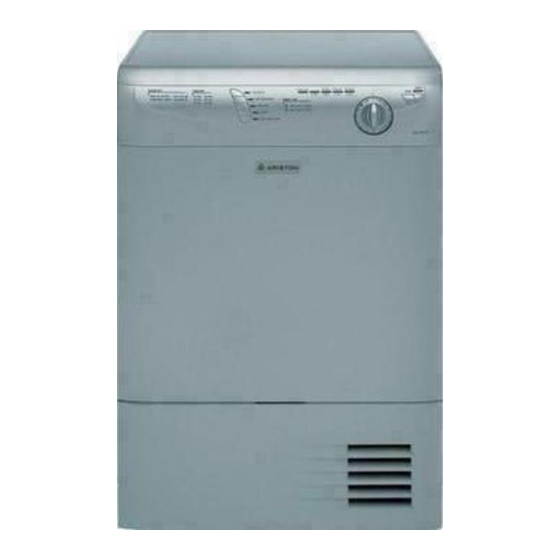
10. RIGHT SIDE PANEL & COMPONENTS
• To remove the Right Side Panel, first remove the Top Panel (see Section 4, page 4), then remove the five Phillips screws, one on
top, and four along the back edge (Fig. 10-1). The Side Panel will then slide back and off the unit (Fig. 10-2).
• With the Right Side Panel removed you have access to the following components (Fig. 10-3)
- A - Control Board and EEPROM Chip.
- B - Front Fan Housing and Fan.
- C - Motor Assembly (Motor, Capacitor, Tension Roller).
REPAIR MANUAL
Fig. 10-1
B
A
Fig. 10-2
C
ASL75CXS NA
Fig. 10-3
Page: 8