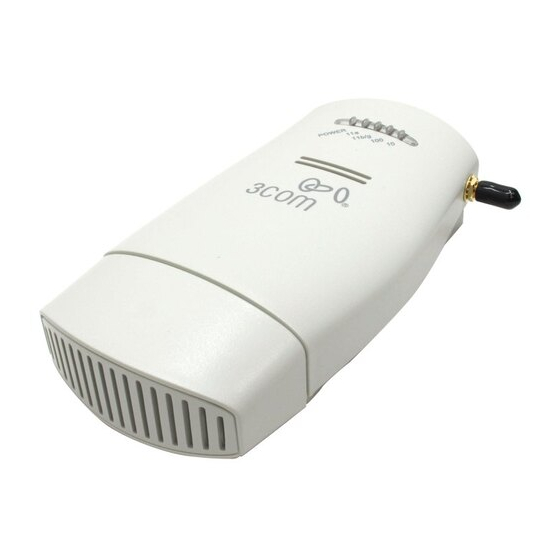
3Com 3CRWE675075 - 11a/b/g Wireless LAN Workgroup Bridge Manuel de démarrage rapide - Page 3
Parcourez en ligne ou téléchargez le pdf Manuel de démarrage rapide pour {nom_de_la_catégorie} 3Com 3CRWE675075 - 11a/b/g Wireless LAN Workgroup Bridge. 3Com 3CRWE675075 - 11a/b/g Wireless LAN Workgroup Bridge 9 pages. 11a/b/g wireless workgroup bridge

Wall-mounting the Bridge
The Bridge comes equipped with a cradle for mounting on a wall. For additional security, the Bridge also
comes with a locking bar, which can be used with a security lock (not provided) to lock the Bridge to the
cradle after the Bridge is mounted to the wall.
To wall-mount the Bridge:
1
Screw the cradle to a wall.
2
Route the power and Ethernet cables through the large opening in the cradle.
The figures below show the cradle being mounted to a wall, and then a cable being routed
through the large opening in the cradle.
C radle
Wall-mounting the cradle
3
Connect the power and Ethernet cables to the ports on the front of the Bridge.
4
Snap the Bridge onto the cradle.
To install the locking bar, push the locking bar through the opening in the side of the cradle until the
hole on the locking bar is exposed. Insert a lock (not provided) through the hole on the locking bar,
and then close the lock to secure it in place. See the user guide for detailed instructions.
Inserting the locking bar
Placing the Bridge on a Flat Surface
To install the Bridge on a flat surface such as a table or desktop, remove the backing from the four
rubber feet and attach them on the bottom of the cradle.
CAUTION: Do not place the Bridge on any type of metal surface. Select a location that is clear
of obstructions and provides good reception.
Routing a cable
Securing the bar with a lock
