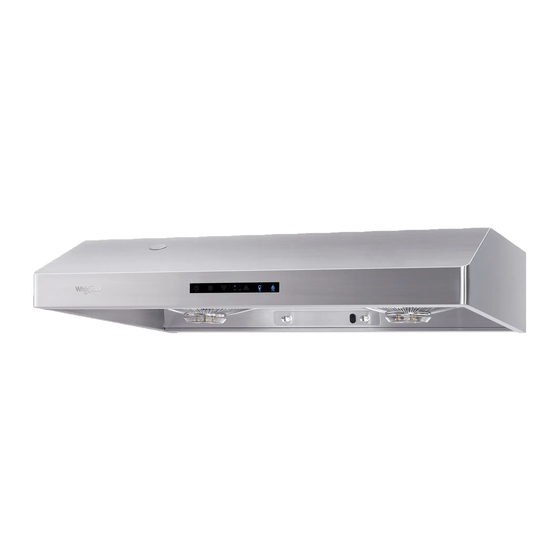
Whirlpool HAS2831S Manuel de santé et de sécurité, d'utilisation et d'entretien et d'installation - Page 9
Parcourez en ligne ou téléchargez le pdf Manuel de santé et de sécurité, d'utilisation et d'entretien et d'installation pour {nom_de_la_catégorie} Whirlpool HAS2831S. Whirlpool HAS2831S 24 pages.

(d) Dirty oil water flows into the built-in oil cup as
shown in the picture (Fig. C).
(e) To avoid excessive water to spillover from the oil
cup, please take down the oil cup and clean up the
water inside after every cleaning as shown in the
picture (Fig. D).
(2) When there is low water level, "LW" light is blinking to alert to add
water to continue the cleaning process. "LW" light is off after water
is added. IF no water is added, "LW" light keeps on even after turn off
the machine. Customer can unplug it to eliminate "LW" light.
(3) The machine has a clean reminder to remind regular cleaning of the
hood. After 15 hours' operation, "CR" light is blinking to alert
cleaning. "CR" light is off after steam clean function is activated.
IF steam clean has not done, "CR" light keeps on even after turn off
the machine. Customer can unplug it to eliminate "CR" light.
Customer can also increase the frequency of steam cleaning
according to individual cooking habits for the durability of the
machine.
(4) Customer can stop the steam clean process anytime by pressing
On/OFF button.
6.
Delay-Off
(1) Press once to start the Delay-Off, hood maintain the current fan
speed. It will turn off after 5 minutes.
(2) When Delay-Off function is activated, speed can still be adjusted.
(3) When Delay-Off function is activated, press On/Off button to stop
the Delay-off function anytime.
Notes: (1) For the first time of steam cleaning, there is water pump sound
because no water in the water pump and pipe. It is normal.
(2) The actual cleaning time sometimes will be affected by the
environmental temperature.
(3) Customers please do not touch the steam and the hood body
to avoid getting burnt.
H
O
OOD
PERATION
LW
CR
6
Oil Cup
Fig. C
Remove
Oil Cup
Assembly
Fig. D
