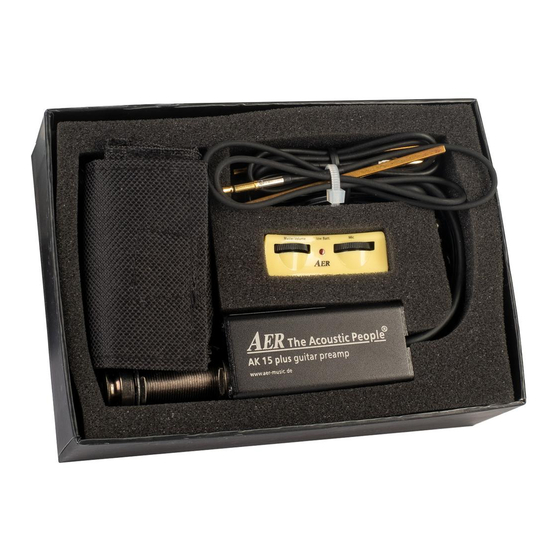
AER AK15 plus Manuel d'installation - Page 9
Parcourez en ligne ou téléchargez le pdf Manuel d'installation pour {nom_de_la_catégorie} AER AK15 plus. AER AK15 plus 12 pages.
Également pour AER AK15 plus : Fiche d'instruction (2 pages)

during installation, and use a strip of masking
tape to stick the piezo pickup cable inside the
guitar to a near top brace, as strain relief.
The saddle will sit higher now that the piezo is
installed. For proper playing action, remove some
material from the saddle. Use double side tape to
fixate sanding paper to a
completely flat surface and sand off enough
material from the bottom of the saddle to match
your playing requirement. Always check that the
bottom of the saddle stays flat!
4. Endpin Mounting
After drilling the 12 m hole in the guitars end
block, start from inside the guitar, slip the pre-
amps endpin through the endpin hole and prese-
lect the correct position with the hex counter nut
inside the guitar.
Then fix the endpin finally with the second
hex nut from the outside, pushing an allen key
through the hole in the thread for use as lock
against twisting. When the endpin is safely fixed,
screw on the strap-button.
Now plug the piezo pickup connector into the
piezo socket of the endpin, there should be an au-
dible „click", to make sure it sits firmly. The internal
microphone is best pointed towards the back
of the guitar. Experimentation may yield better
results with your specific instrument though.
5. Test Run
Before fixing the battery pouch, it is best to do a
test run. Connect the battery pins to the connec-
tor of the AK15 plus system.
Now connect the soundhole control unit with the
small connector.
You can then connect the output jack to an am-
plifier. Plugging the jack into the endpin socket
closes the circuit and switches on the AK15 plus
system, without jack there is no battery power
consumption. Even when not playing, the system
will lose battery power when a jack plug is con-
nected. Only plug in when you want to use the
pickup system.
The factory setting of the internal microphone
trim pot will be suitable for the vast majority of
guitars, so in most cases, there is no correction
necessary.
Factory settings:
Piezo: +10dB
Microphone: +10dB
Check the sound of the piezo pickup first and
listen if all strings sound equally loud. Imbalance
in string volumes should be addressed by a
luthier, or follow the tips in the trouble shooting
section. Now add microphone signal by turning
the Mic control. Tapping the top will let you hear
the microphone signal very easily. Sounds good?
Go to the next step.
5. Battery Pouch Installation
The battery pouch has a Velcro strip on the
backside.
Peel the masking tape off the Dual-lock™ (tape)
and glue it to the neck block or the upper bout of
the guitar. Make sure the gluing surface is flat and
clean. Many tone woods contain natural oils, and
the gluing surface needs to be made grease free
before gluing the Dual Lock™. Then attach firmly
the battery bag to the Dual-lock™. Connect the
battery contacts from the endpin preamp with a
fresh battery and put it in the pouch.
Please consider:
You have several options regarding the position
of the battery pouch, each of them may be a
compromise, but the aim must be to combine
easy access with a firm position of battery and
battery-pouch. The cross braces of the upper
bout inside the guitar may be used as additional
support against gravitational force.
Whatever position you choose: You will have to
loosen or even remove the strings, when a battery
change is necessary.
Note:
The AK15 plus system is not made for ‚micro-
phone-only' performance! You will find a surpris-
ingly warm yet strong and clear tone from the
piezo due to a suitable electronic environment.
The microphone will add definition, and authen-
ticity as well as an acoustic ambience, which
makes the sound more natural. Too much micro-
phone signal however will make the tone ‚hollow'
and can cause feedback. The piezo at full volume
may make microphone use impractical. All this
has been experienced without using a feedback
9
