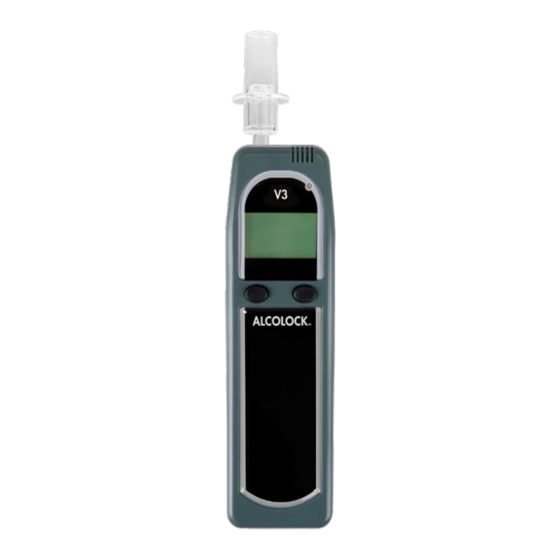
Alcolock V3 B-2 Series Manuel d'entretien - Page 6
Parcourez en ligne ou téléchargez le pdf Manuel d'entretien pour {nom_de_la_catégorie} Alcolock V3 B-2 Series. Alcolock V3 B-2 Series 8 pages.

CYLINdER SETUp
1.
Examine the canister and valve for any damage, and check the expiration date on the label.
Observe all cautions and safety warnings found on the canister.
2.
Remove the protective cap and screw the regulator valve to the canister. Attach the rigid
delivery tube. Never modify the delivery tube in any way.
CAUTION! Damaged or broken valves can turn a canister into an unguided missile.
Attach the valve in a safe location.
CALIbRATING A HANdSET
1.
Power the handset on by holding down either the right or left button.
2.
Access the Menu by pressing and holding the left button. Scroll through the menu and select
System Maintenance. The four digit code which is provided with the V3 accesses this
menu.
3.
Enter the code and move the cursor to OK? when finished. Push the right button to Select.
This enters the Service menu.
4.
Scroll through the Service menu and press select Calibration.
5.
The current handset Date/Time is displayed. To proceed select OK with the right button. This
enters the Select Type menu.
NOTe! If a tachograph is installed the date/time cannot be changed.
6.
The Select type menu contains the calibration options. Scroll to dry Gas and push the right
button to Select. This enters the Select value menu.
7.
The Select value menu contains the gas standard concentration options. Verify that 130PPM
is on the canister label, and use the left button to scroll to 130ppM. Push the right button to
Select. This enters the Altitude menu.
8.
The Altitude menu contains the altitude correction factor. Verify the altitude value using the
altitude reference guide, which is on the last page of this guide. The left button increases in
increments of 200 meters. Press the right button to Accept.
9.
A Wait message is displayed followed by a 2:00 minute warm-up. The handset is ready for
calibration when the Turn on gas message is displayed.
10.
Insert the delivery tube from the regulator valve into the mouthpiece port. Keep hold of the
handset as the delivery tube is rigid.
11.
Press the valve down to release the gas while keeping
hold of the handset (see figure). The handset analyzes
the gas standard and displays a blowing... message
followed by Analyzing message.
Continue holding the valve down until the handset clicks
and then beeps, indicating that the test is complete.
12.
The handset analyzes the test, which is
followed by a Wait message and 0:45 second
countdown. The handset is ready for the second sample
when the Turn on Gas message is displayed.
