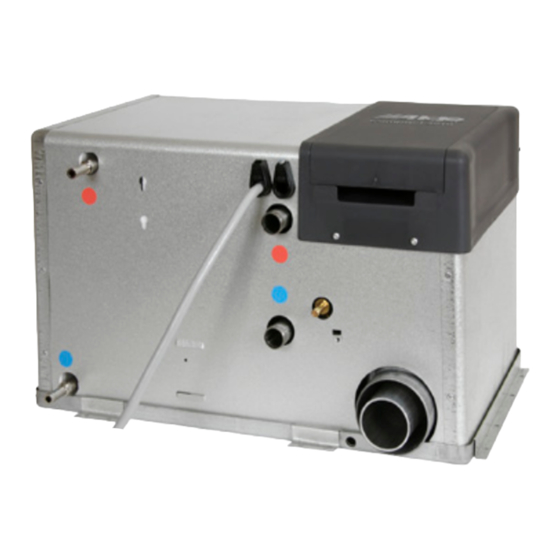
Alde Compact 3020 HE Manuel d'utilisation - Page 11
Parcourez en ligne ou téléchargez le pdf Manuel d'utilisation pour {nom_de_la_catégorie} Alde Compact 3020 HE. Alde Compact 3020 HE 19 pages.
Également pour Alde Compact 3020 HE : Instructions d'utilisation et d'installation (8 pages), Modification des instructions d'installation (4 pages)

8. SERVICE MENU
The Service menu is accessed by pressing Service (see fig. 1). The function shows the values from the
boiler on the screen (fig. 2 and 3). The values are updated every second.
Figure 1
Settings
9. TROUBLESHOOTING
Always start by checking any error messages.
If a fault occurs in the system, the cause will be shown on the display. This is only displayed when the control
panel is in standby mode.
The boiler will not start on gas
•
No LPG?
•
Is the main tap fully open?
•
Check that the type of LPG used is suitable for the prevailing outdoor temperature. Using butane is unsui-
table at temperatures lower than +10°C. Use propane instead.
•
Check that the fuse for the boiler has not blown.
•
Check that power at 12 V is being supplied to the boiler (> 11 V); the current voltage can be read off from
the
service menu.
•
Check that the exhaust hose is secured properly between the boiler and flue and that it is not damaged or
blocked with dirt, condensation or water. NB. The exhaust hose consists of two hoses, an inner one and an
outer one.
•
Check there is nothing obstructing/blocking the path of the exhaust gases at the flue.
•
Check for correct gas pressure. This can be done by starting all hobs on the gas cooker and then starting
the boiler on gas operation. If there is a reduction in flame on the cooker, the gas pressure is incorrect.
•
If the boiler has not been operated for some time, or if the LPG cylinder is new, it may take longer than
normal to light the boiler. Try to restart the boiler.
•
If none of the above helps, contact a service workshop
The electric element is not working
•
Check that the fuse for the boiler has not blown.
•
Check that power at 12 V is being supplied to the boiler (> 11 V); the current voltage can be read off from
the
service menu.
•
Check that 230 V really is being supplied to the boiler. Long and/or flimsy connection cables result in gre-
ater voltage drop and the voltage sometimes being lower under certain conditions.
•
Check that the output level selected on the panel is high enough, see section 5:3.
•
Check that the load monitor* (where present) has been correctly installed.
•
If none of the above helps, contact a service workshop
Poor heat or none at all (circulation in the heating system)
•
Check that the symbol for the circulation pump is visible in the standby menu when heating is required,
see section 4.
•
Check that the circulation pump is working.
•
Check that the correct circulation pump is activated in "Installed Accessories", see section 11.
•
Check that the heating system has been bled.
*ACC not working satisfactorily
•
Ensure that the temperature sensor that is used reacts effectively to the room temperature for both hea-
ting and cooling. To increase sensitivity, a more open temperature sensor can be used
•
With an outside temperature sensor (part no. 3010 299) fitted, ACC function is improved: if the outdoor
temperature is too low, the AC should not run at all.
Functions marked with a (*) are accessories, which are not installed on all vehicles, refer to the vehicle
manufacturer's instructions.
Figure 2
Service
Glycol Temp:
80° C
Water Temp:
55° C
Fan rotation:
0RPM
Current:
0.0A
Overheat:
Deact
Figure 3
Service
PCB Temp:
20° C
Ext Switch:
deact
Boiler:
XXXX
Panel:
XXXX
(part no. 3010 638).
11
