Xerox WorkCentre M118 Instructions pour le reconditionnement - Page 10
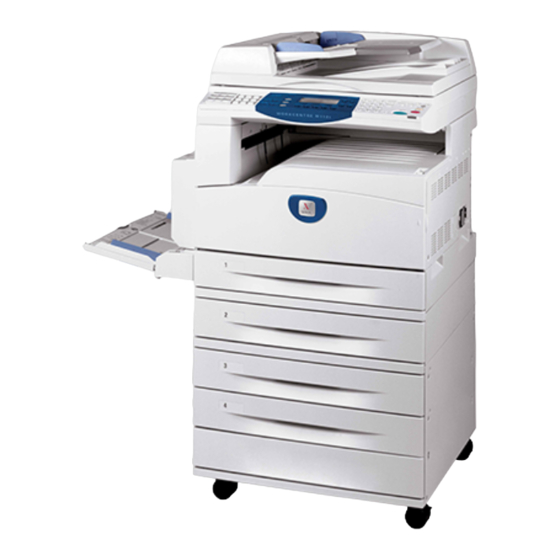
Parcourez en ligne ou téléchargez le pdf Instructions pour le reconditionnement pour {nom_de_la_catégorie} Xerox WorkCentre M118. Xerox WorkCentre M118 14 pages. Drum cartridge remanufacturing
Également pour Xerox WorkCentre M118 : Manuel de l'utilisateur (2 pages), Manuel du module (2 pages), Carte d'installation rapide (2 pages), Manuel du logiciel (47 pages), Manuel d'installation rapide (5 pages), Manuel d'installation rapide (5 pages), Manuel (28 pages), Manuel d'installation du support (4 pages), Manuel d'installation (2 pages), Manuel d'installation (2 pages), Manuel d'installation (2 pages), Manuel d'installation (2 pages), Manuel d'installation (2 pages), Manuel d'installation (1 pages), Manuel d'installation (1 pages), Manuel de démarrage (25 pages), Manuel de l'évaluateur (12 pages), Manuel d'entretien (12 pages)