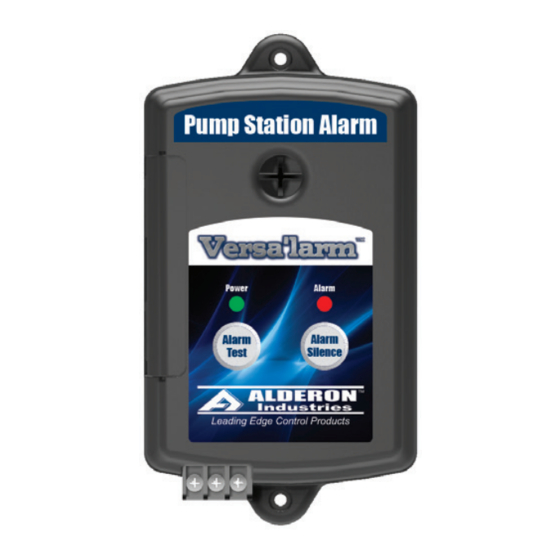
Alderon Industries Versa'larm VA01A Manuel d'utilisation, d'entretien et d'installation - Page 3
Parcourez en ligne ou téléchargez le pdf Manuel d'utilisation, d'entretien et d'installation pour {nom_de_la_catégorie} Alderon Industries Versa'larm VA01A. Alderon Industries Versa'larm VA01A 4 pages. 1 zone alarm
Également pour Alderon Industries Versa'larm VA01A : Manuel d'utilisation, d'entretien et d'installation (4 pages)

Versa'larm
1 Zone Alarm - Model VA01A
Operation, Maintenance and Installation Manual
Installation of the Versa'larm Continued
4. If connecting to existing alarm security system or BAS system leave Terminals "+" and "-" open and use 18
AWG 2 conductor wire to connect the existing product to Terminals 1A and 1B (Fig. 9). When connected, replace
the access cover and pull the wires through the knockouts on the access cover (Fig. 10 and Fig. 11), see Step 5.
Caution!
- When installing wires, route all wires away from sharp objects and internal components.
Terminals "+" and "-"
DO NOT USE
Terminals 1A and 1B
Normally Open
Class 2, 24 VDC/VAC (50/60 Hz)
100 Milliamps MAXIMUM
NOTE: The auxiliary contacts on Terminals 1A and 1B of the Versa'larm are Normally Open only.
5. Use a needle nose pliers (not included) to remove the desired "break away tabs" from the access cover, lightly
pull and twist off tab(s) (Fig. 10). Run the wires through the knockouts when replacing the access cover (Fig. 11).
Remove Cover To Insert 9v
Battery. Replace Yearly.
Auxiliary Contacts Inside.
6. Make note of the alarm condition(s) you are monitoring and keep near the alarm.
Alarm Systems
Control Panels
PO Box 827 Hawley, MN 56549 (218) 483-3034 Fax (218) 483-3036 www.alderonind.com
TM
BAS (Building Automation System)
or
another high water alarm
or
any monitoring system
(Fig. 10)
Remove Cover To Insert 9v
Battery. Replace Yearly.
Auxiliary Contacts Inside.
Float Switches
Leak Detection Systems
+
-
(Fig. 9)
+ -
1A 1B
(Fig. 11)
Remove Cover To Insert 9v
Battery. Replace Yearly.
Auxiliary Contacts Inside.
P/N: 101444
1A
1B
Page 3 of 4
