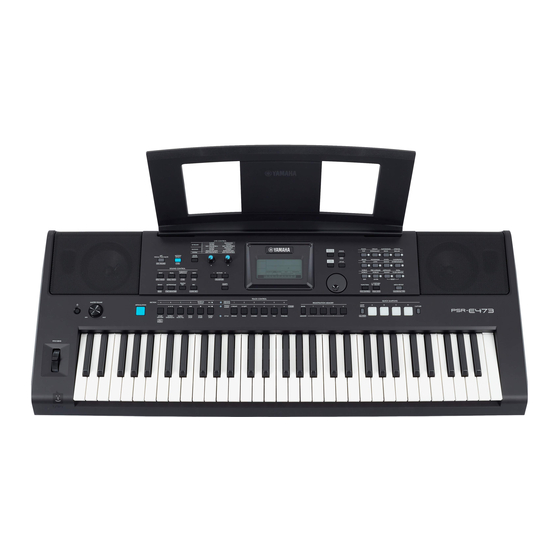
Yamaha PSR-E473 Manuel de référence - Page 20
Parcourez en ligne ou téléchargez le pdf Manuel de référence pour {nom_de_la_catégorie} Yamaha PSR-E473. Yamaha PSR-E473 32 pages.

Playing Like a DJ!
The dynamic Groove Creator function and Live Control Knobs give you powerful tools to
perform like a pro DJ! Since the Grooves and section variations change seamlessly with-
out breaks in the rhythm, performing is truly easy. Still, a sense of rhythm is important. So,
turn up the volume, feel the rhythm in your body, and work the buttons and knobs—as if
you were in front of the dance floor!
In this example using Groove 001 (Elec Dnc), you'll learn how to take one Groove and trans-
form it in a variety of ways.
Creating an
Intro Part
Creating an Intro Part with the
Track On/Off Controls
1
Press the [GROOVE CREATOR] button.
And then, select Groove 001 with the dial
or number buttons.
2
Use the [TRACK CONTROL] buttons to
turn on Tracks [1], [2] and [3], and turn off
Tracks [4], [5] and [6], so that only the
rhythm tracks play back.
Elec Dnc
001
001
1
3
Press the Section [A] button to enable
Section A for playback.
4
Press the [
] button to start playback.
5
While watching the Beat marks "
and Measure number as they change on the
display, press the Track [6] button to turn on
Track [6] when the fourth beat of Measure 008
plays (just before Measure 001 starts again).
SECT A
008
1
6
Using the same timing as in step 5, press
Track buttons [4] and [5] buttons simulta-
neously to turn on Tracks [4] and [5].
NOTE
• Only up to two tracks can be turned on and off at the
same time, so press only two buttons simultaneously.
20
PSR-E473, PSR-EW425 Reference Manual
Building
Excitement
Adding Effects
and Interest
"
Creating
Greater
Excitement
Building Excitement and Interest
by Changing Sections
1
While watching the Beat marks "
as they change on the display, press the
section [B] button at a musically appropri-
ate time to switch to Section B. Even if
your timing is slightly off, the section will
naturally change in time with the rhythm.
2
Using the same timing as in step 1, press
Section button [C] or [D] to build up the
Groove.
Adding Effects to the Groove with
the Live Control Knobs
1
While watching the display, press the
[KNOB ASSIGN] button several times (as
needed) to select "4."
4
2
Rotate Knob B fully to the right, and then
rotate Knob A fully to the left.
3
Rotate Knob A gradually to the right to
change the muffled sound to a clear,
bright sound. Try rotating the Knob along
with the tempo.
Switching to
Another
Groove
"
SECT C
001
4
