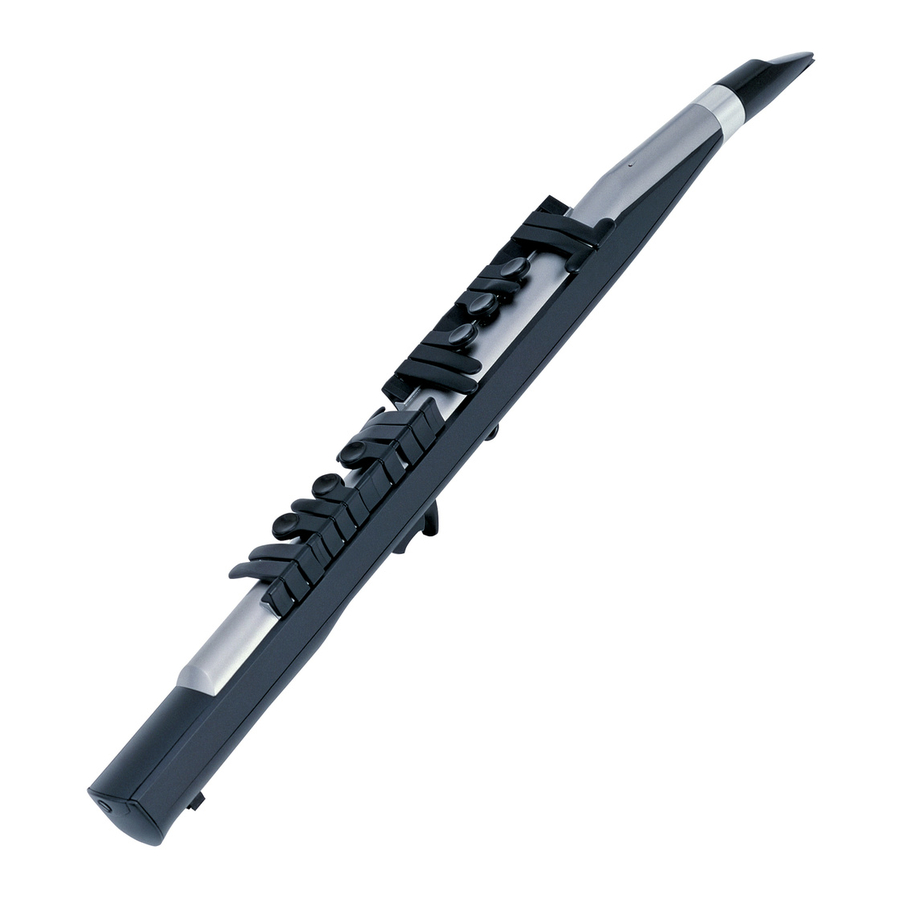
Yamaha WX5 Manuel du propriétaire - Page 7
Parcourez en ligne ou téléchargez le pdf Manuel du propriétaire pour {nom_de_la_catégorie} Yamaha WX5. Yamaha WX5 44 pages. Yamaha wind midi controller owner's manual

@
Pitch Bend Wheel
Like the pitch bend wheel on keyboard synthesizers, the WX5
pitch bend wheel can be used to produce smooth upward or down-
ward pitch bends. Details on page 13.
#
Key Hold Button
The Key Hold button controls any of four assignable key hold
functions including sustain. Details on page 14.
$
Program Change Button
Used in conjunction with the instrument's keys, the Program
Change button can be used to transmit MIDI program change num-
bers to the connected tone generator in order to change voices di-
rectly from the WX5. Details on page 16.
%
Power Switch
Turns the WX5 power on or off.
^
DC IN 12V Connector
When using a Yamaha PA-3B AC Adaptor to power the WX5,
the adaptor's output cable should be connected here. Details on
page 8.
&
MIDI OUT Connector
When not using the WX cable (below), use this connector to
connect the WX5 to a MIDI tone generator or synthesizer via a
standard MIDI cable. Details on page 9.
*
WX OUT Connector
This connector allows the WX5 to be directly connected to
compatible Yamaha tone generators (such as the VL70-m) which
have a WX IN connector via the supplied WX cable. Details on
page 9.
(
Cable Holder
Supports the AC adaptor output cable and the MIDI or WX
cable connected to the WX5, preventing accidental disconnection.
)
Water Drain
Breath and built-up water escape from this aperture - do not
block this aperture.
The WX5 Controls & Connectors
Attaching the Strap
When using the supplied neck strap with the
WX5, attack the strap hook to the strap ring as shown
in the illustration.
Positioning the Thumb Hook
The thumb hook rests on the right-hand thumb
while playing, supporting and steadying the instru-
ment. For maximum comfort and playability, the
thumb hook can be positioned as required by loos-
ening the screw using a small "plus" screwdriver, as
shown in the illustration, positioning the thumb hook
as required, and then tightening the screw. Do not
use excessive force when tightening the thumb-hook
screw.
7
