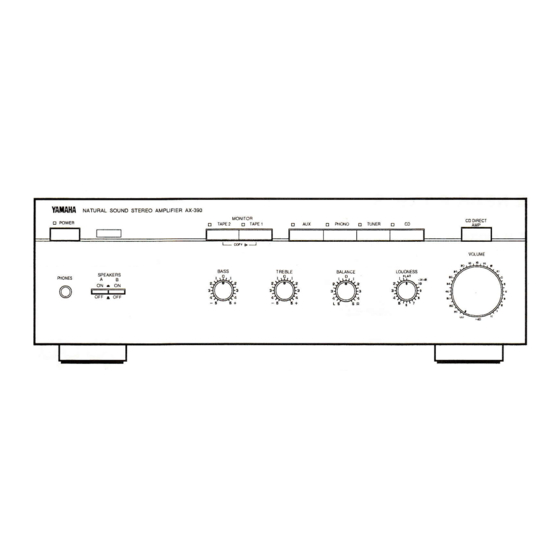
Yamaha AX-390 Manuel du propriétaire - Page 2
Parcourez en ligne ou téléchargez le pdf Manuel du propriétaire pour {nom_de_la_catégorie} Yamaha AX-390. Yamaha AX-390 14 pages. Natural sound stereo integrated amplifier
Également pour Yamaha AX-390 : Manuel d'entretien (37 pages)

SUPPLIED ACCESSORIES
ACCESSOIRES FOURNIS
MITGELIEFERTE ZUBEHÖRTEILE
MEDFÖLJANDE TILLBEHÖR
ACCESSORI IN DOTAZIONE
ACCESORIOS INCLUIDOS
BIJGELEVERDE ACCESSOIRES
Remote Control Transmitter
Emetteur de télécommande
Fernbedienungsgeber
Fjärrkontrollsändare
Telecomando
Transmisor del control remoto
Afstandbediening
This product complies with the radio frequency
interference requirements of the Council Directive
82/499/EEC and/or 87/308/EEC.
Cet appareil est conforme aux prescriptions de la directive
communautaire 87/308/CEE.
Diese Geräte entsprechen der EG-Richtlinie 82/499/EWG
und/oder 87/308/EWG.
Dette apparat overholder det gaeldende EF-direktiv
vedrørende radiostøj.
Questo apparecchio è conforme al D.M.13 aprile 1989
(Direttiva CEE/87/308) sulla soppressione dei
radiodisturbi.
Este producto está de acuerdo con los requisitos sobre
interferencias de radio frequencia fijados por el Consejo
Directivo 87/308 CEE.
Dit product voldoet aan de EEG normen betreffende
radio-frekwentie storingen 82/499/EEG en/of
87/308/EEG.
2
After unpacking, check that the following parts are included.
Après le déballage, vérifier que les pièces suivantes sont incluses.
Nach dem Auspacken überprüfen, ob die folgenden Teile vorhanden sind.
Kontrollera efter det apparaten packats upp att följande delar finns med.
Verificare che tutte le parti seguenti siano contenute nell'imballaggio dell'apparecchio.
Desembale el aparato y verificar que los siguientes accesorios están en la caja.
Controleer na het uitpakken of de volgende onderdelen voorhanden zijn.
Batteries (size AA, R6, UM-3)
Piles (taille AA, R6, UM-3)
Batterien (Größe AA, R6, UM-3)
Batterier (storlek AA, R6, UM-3)
Batterie (dimensioni AA, R6, UM-3)
Pilas (tamaño AA, R6, UM-3)
Batterijen (maat AA, R6, UM-3)
For U.K. customers
If the socket outlets in the home are not suitable for the plug
supplied with this appliance, it should be cut off and an
appropriate 3 pin plug fitted. For details, refer to the
instructions described below.
Note: The plug severed from the mains lead must be
destroyed, as a plug with bared flexible cord is hazardous if
engaged in a live socket outlet.
Special Instructions for U.K. Model
IMPORTANT
THE WIRES IN THE MAINS LEAD ARE COLOURED IN
ACCORDANCE WITH THE FOLLOWING CODE:
Blue: NEUTRAL
Brown: LIVE
As the colours of the wires in the mains lead of this apparatus may
not correspond with the coloured markings identifying the terminals
in your plug, proceed as follows:
The wire which is coloured BLUE must be connected to the
terminal which is marked with the letter N or coloured BLACK. The
wire which is coloured BROWN must be connected to the terminal
which is marked with the letter L or coloured RED. Make sure that
neither core is connected to the earth terminal of the three pin plug.
