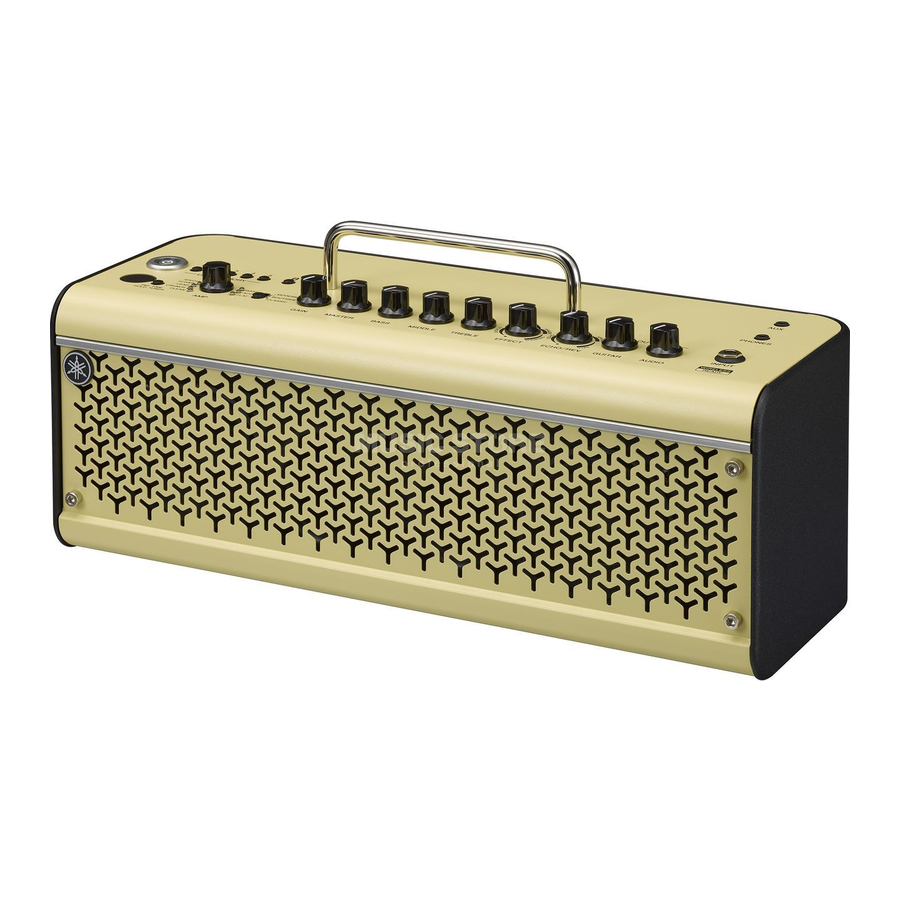
Yamaha THR30II Wireless Manuel de référence - Page 10
Parcourez en ligne ou téléchargez le pdf Manuel de référence pour {nom_de_la_catégorie} Yamaha THR30II Wireless. Yamaha THR30II Wireless 20 pages.
Également pour Yamaha THR30II Wireless : Manuel rapide (2 pages), Manuel de démarrage rapide (5 pages)

Connecting to a smart device
By connecting a smart device to the THR-II, you can:
• Play audio files on a smart device via Bluetooth.
• Edit effects and tone controls on a smart device.
Playing audio files on a smart device via Bluetooth
To play audio from a smart device via Bluetooth, configure Bluetooth on the smart device while in the pairing
mode.
Setting the THR-II to pairing mode
1. Check that the
2. Press and hold the [Bluetooth] button* located on the top of the THR-II for three seconds.
3. Check that the LED DISPLAY flashes in green (pairing mode).
Configuring Bluetooth on the smart device
4. Complete the Bluetooth configuration of the smart device within 3 minutes after entering pairing mode.
* For details on Bluetooth configuration, refer to the manual of your smart device.
5. Check that the LED DISPLAY is lightning in green (connected).
Confirm sound output from the THR-II by playing music on the smart device.
1
Press the
button*.
(disconnect)
NOTE
• After turn off the THR-II, and when turn on the power and the Bluetooth connection record remains
on both the THR-II and the smart device, reconnect the Bluetooth automatically.
at the top of the LED DISPLAY is unlit (disconnected).
2
. Press and hold the
Bluetooth button*
three seconds (pairing).
. Unlit
(disconnected)
Bluetooth
Playing an audio on
the smart device.
THR30II Wireless THR10II Wireless THR10II
for
3
Press the
Bluetooth
button*
once
then disconnected.
(reconnect)
5
. Check that the LED
is lit in green
(connected).
. Check that the LED flashes in
green (pairing mode).
4
. Complete the Blu-
etooth configura-
tion within 3
minutes.
*
On the THR10II Wireless and THR10II,
enable Bluetooth by pressing the [USER
MEMORY] button [4] and [5] simultane-
ously.
Reference Manual
Connection
10
