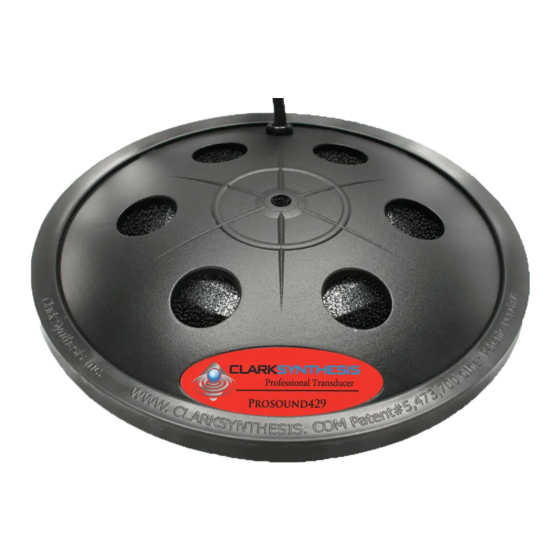
Clark Synthesis Prosound429 Manuel d'installation - Page 5
Parcourez en ligne ou téléchargez le pdf Manuel d'installation pour {nom_de_la_catégorie} Clark Synthesis Prosound429. Clark Synthesis Prosound429 9 pages.

If you are using a Clark Synthesis seat, there are pre-mounted T-nuts in the base of the seat that are
1
ready to receive the threaded stud. The number of T-nut options is dependent on the type of seat
you have purchased, i.e., round or bicycle. Round seats have two T-nuts, bicycle seats have three (one
in the back and one on each side). Since round seats can be rotated to place the Prosound429 in the
desired location under the musician (front, back, or side), the selection of the T-nut to use is not critical.
However, for bicycle seats, you may either mount the Prosound429 toward the back or in one of the
more forward positions on the sides. For the best feel, it is usually best to mount the thumper under
the part of the throne closest to where you sit (some people sit forward, others sit on the center/back).
Screw the threaded stud into the desired T-nut. Place one lock washer and two jam nuts on the
threaded stud. Tighten one jam nut and the lock washer to the T-nut in the seat. Go to the instructions
in this manual in the Mounting Bracket Installation section
and follow Step 4 to complete the installation.
If installing on another manufacturer's seat, determine the
2
desired location for the Prosound429 (front, back, side,
more than one Prosound429?). Follow the instructions in
this manual in the Mounting Bracket Installation section.
NOTE: Taping the wire across the dome may help prevent
damage to the unit in the event the throne is turned,
creating tension on the wire. This, however, is not a
guaranteed method for preventing damage. Excessive
stress to the wire may result in severe damage. This
damage is not covered under warranty.
Determine the location for the TC-101 Amplifier Interface. The TC-101 may be mounted inside a rack
3
or placed on a rack shelf. If the TC-101 is placed in a remote location beyond the reach of the wire on
the Prosound429 (approximately 3 ft.), attach another segment of wire from the Prosound429 to the
TC-101. Connect the wire from the Prosound429 to one of the speakon connectors. Connect another
wire from the amplifier (not supplied in the Prosound429 Package) to the other speakon connector.
Plug the speakon connector coming from the amplifier into the Input connector on the TC-101. Plug
the speakon connector coming from the Prosound429 into the Output connector on the TC-101.
Feed the input signal from your musical equipment/mixing console into the amplifier. Turn the gain on
4
the amplifier down. Play the instrument as you slowly increase the gain on the amplifier. While playing,
insure the TC-101 is not flashing too brightly inside. Continue testing the output level by monitoring
the feel from the Prosound429 and the degree of flash coming from the TC-101. If the TC-101 is
flashing brightly, this means the signal is too strong and the gain level needs to be lowered. Adjust
the gain until the desired level is achieved. Some low-level flashing from the TC-101 is acceptable.
www.clarksynthesis.com
DRUM THRONE INSTALLATION
Prosound429
5
