Clark-Reliance Jerguson LumaStar EPL-100 Manuel d'installation, d'utilisation et d'entretien - Page 8
Parcourez en ligne ou téléchargez le pdf Manuel d'installation, d'utilisation et d'entretien pour {nom_de_la_catégorie} Clark-Reliance Jerguson LumaStar EPL-100. Clark-Reliance Jerguson LumaStar EPL-100 12 pages.
Également pour Clark-Reliance Jerguson LumaStar EPL-100 : Manuel d'installation, d'utilisation et d'entretien (12 pages)

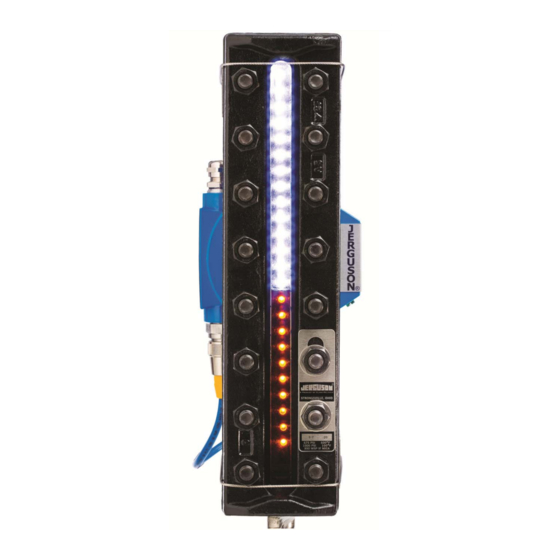
*NOTE: Illuminator pictured is model EPL-100. Model EPL-316 mounts in the same manner except the power supply is
always remote mounted. Identify your bracket type. Confirm the bracket style matches that in the below pictures. If the
bracket received is different than shown here and on page 2, contact factory for assistance.
®
1) Align Jerguson
LumaStar™ assembly with rear (side with bolt heads) of gauge. Loosen bracket thumb nuts and
adjust the position of the brackets to line up with their respective bolts on the gauge as shown in Figure 10.
Tighten the thumb nuts to secure in place. When possible, use the 2
Note that all one-section size 7 models and smaller will require the power supply to be remote mounted.
2) Align one side of the brackets as shown in Figure 11, so that the clip of the brackets are gripping around the side of
the gauge. Roll the entire assembly over until it is flush with the rear flat of the gauge and press until the bracket
clips have locked into place as shown in Figure 12.
16633 Foltz Parkway ● Strongsville, OH 44149 USA ● Telephone: +1 (440) 572-1500 ● Fax: +1 (440) 238-8828
ALTERNATE BRACKET STYLE
Figure 14
Figure 15
www.clark-reliance.com ● [email protected]
nd
set of bolts from the edge of the cover plate.
Figure 16
7
