Blackberry Radar H2 Manuel d'installation - Page 4

Parcourez en ligne ou téléchargez le pdf Manuel d'installation pour {nom_de_la_catégorie} Blackberry Radar H2. Blackberry Radar H2 30 pages. Dry van, insulated trailers roll-up doors
Également pour Blackberry Radar H2 : Manuel d'installation (33 pages), Manuel d'installation (26 pages), Manuel d'installation (25 pages), Manuel d'installation (32 pages), Manuel d'installation (33 pages), Manuel d'installation (34 pages), Manuel d'installation (35 pages), Manuel d'instruction (33 pages), Manuel d'installation (32 pages), Manuel d'installation (26 pages), Manuel d'installation (25 pages), Manuel d'installation (28 pages)
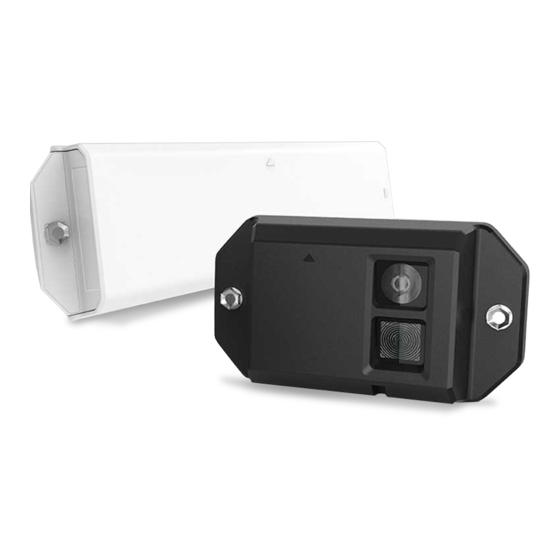
Blackberry Radar H2 Manuel d'installation
4
BLACKBERRY RADAR H2 ITC100-1 INSTALLATION GUIDE

2 Get ready for installation

To get ready for installation, you need to obtain a worksheet where you can record the
pairing of each Radar H2 module to its asset (that is, the asset that the module will be
installed on).
In this section you will:
Add all assets you need to track to the Dashboard application user interface (UI)
Download the installation worksheet
2.1

Prerequisites

To perform the tasks in this section, you must
Have a computer with internet access
Have an account to the BlackBerry Radar Dashboard with admin privilege

2.2 Add available assets to the application

You can add all the assets you need to track by uploading a CSV file that contains the
information about the assets.
2.2.1 Create a CSV file
CSV stands for comma-separated values. A CSV file is a text file that contains information
structured in tabular form. If you have an Excel spreadsheet that contains all the assets as
well as the required information about the assets (see list below), you can create a CSV file
simply by saving your Excel file as Comma Separated Values (CSV).
It's important to note that your CSV file must contain all the information required for each
asset. This means that you must include the following columns in your CSV, and that each
column must contain the required information, as detailed below.
Asset identifier
Asset type
Door type
Mounting location
Asset class
Notes
Labels
Length of asset
Width of asset
Height of asset
You can give the columns any names in your CSV file, but the column names must be in the
first row and separated by commas (or another delimiter that you decide to use).