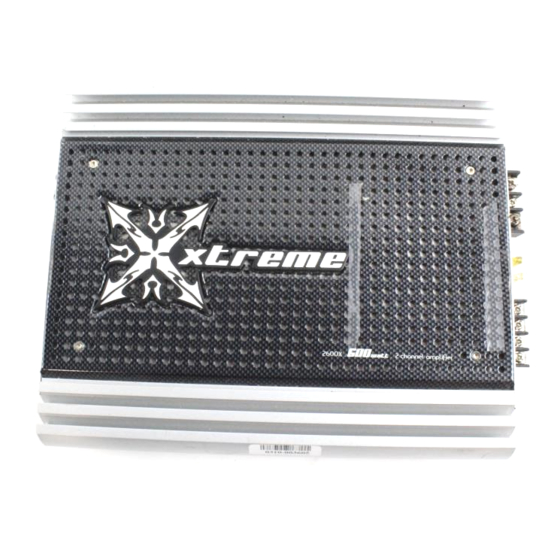
Directed Electronics xtreme 4600X Manuel du propriétaire - Page 9
Parcourez en ligne ou téléchargez le pdf Manuel du propriétaire pour {nom_de_la_catégorie} Directed Electronics xtreme 4600X. Directed Electronics xtreme 4600X 16 pages. Dei 1500x: user guide

- 1. Table of Contents
- 2. Congratulations
- 3. Limited Two-Year Consumer Warranty
- 4. Features
- 5. Warning
- 6. Installation Guidelines
- 7. Front Panel Connections/Controls
- 8. Input Wiring Diagrams
- 9. Crossover Settings and Gain Adjustment
- 10. Rear Panel Connections
- 11. Speaker Connections
- 12. Bridge Mode
- 13. CEA Specifications
- 14. Specifications
CROSSOVER SETTINGS AND GAIN ADJUSTMENT
Your Xtreme Series power amplifier by Directed Audio needs to be adjusted carefully to
achieve maximum performance. These are some guidelines to follow when fine-tuning
the amplifier.
For full-range and simultaneous stereo/mono bass applications, the crossover selec-
tion switch should be set to FLAT. If the amplifier is driving your subwoofers, set the
switch to LPF, and for mid-bass/midrange output, set to HPF.
The crossover frequency control needs to be adjusted to suit your particular system.
For subwoofer applications, try to keep the setting low enough to prevent the
image smearing (you should not be able to hear male voices from the subwoofer)
but not so low as to create a gap between the subwoofer and the mid-
bass/midrange speakers. For mid-bass/midrange settings, try to keep the setting
low enough to keep your sound stage in front of you, without overdriving the
speaker. It will be to your advantage to spend some extra time with this adjust-
ment, listening to familiar music or system set-up discs to achieve the kind of
musical reproduction that you prefer.
The gain adjustment allows you to set proper signal match for clean, quiet ampli-
fier operation. For full-range and simultaneous stereo/mono bass applications,
start by playing some music you are familiar with. With the gain adjustment on
the amplifier in the middle of its rotation, bring up the volume on your head unit
to the 3/4 volume setting or until you start to hear distortion or clipping. If you
hear distortion before you reach the 3/4 volume setting of your head unit, reduce
the gain setting on the amplifier and start to raise the head unit volume again.
When you can listen to the music at or slightly above 3/4 on your head unit
without audible distortion, slowly raise the gain of the amplifier until distortion is
heard, then back off the gain until the distortion is not audible. This setting will
allow you to reach full output with all but the quietest of source material, while
avoiding excessive noise in the system.
The same procedure should be used for adjusting the amplifier when the on-board
crossover is set to LPF or HPF, but you will also have to take into consideration the
effect that gain adjustment has on system frequency response and imaging.
Again, plan on spending some time with music that you know, getting the gain
and crossover settings the way you like. Test discs and analyzers may help with this
process, but in the end it's your ears that count - listen to the music!
© 2004 Directed Electronics, Inc
9 9
