Clarke CONTRACTOR CWJ900 Manuel d'utilisation et d'entretien - Page 6
Parcourez en ligne ou téléchargez le pdf Manuel d'utilisation et d'entretien pour {nom_de_la_catégorie} Clarke CONTRACTOR CWJ900. Clarke CONTRACTOR CWJ900 20 pages. Worktop jig

Standard Joints
Corner joint
using left
and
right 45º joints
Before commencing, prepare the router by removing the fence guide etc if fitted, attach
the 30mm guide bush and if available, a dust extractor, also install the cutter. Put the
router safely to one side until ready to use.
Left Hand 90º Joints
Female joint (Fig. 4)
1.
form (curved edge) towards you.
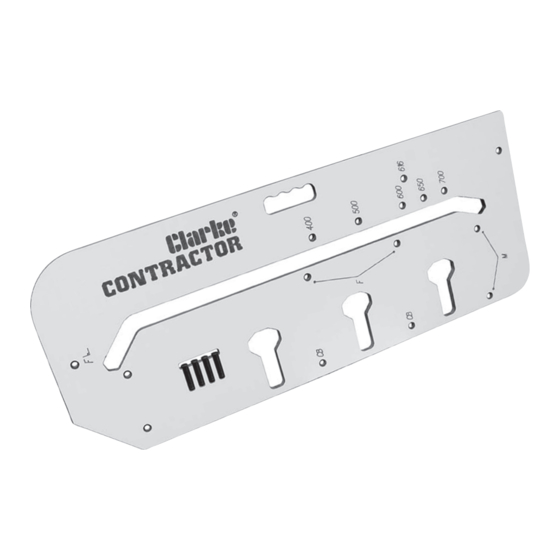
2. Fully insert three pins in the holes marked 'F'.
3 . Fully insert fourth pin in the hole corresponding to the worktop width (e.g.700mm).
NOTE: when inserting pins, ensure the heads finish up below the jig surface,
otherwise the router will not sit flat on the jig resulting in ill fitting joints.
Post Form Edge
Cut Direction
-5-
90º Left
Hand Joint
45º Right
Hand Joint
- prepare the worktop with laminate face up and the post
Female joint - laminate face up.
45º Left
Hand Joint
Fig. 3
Fig. 4
90º Right
Hand Joint
