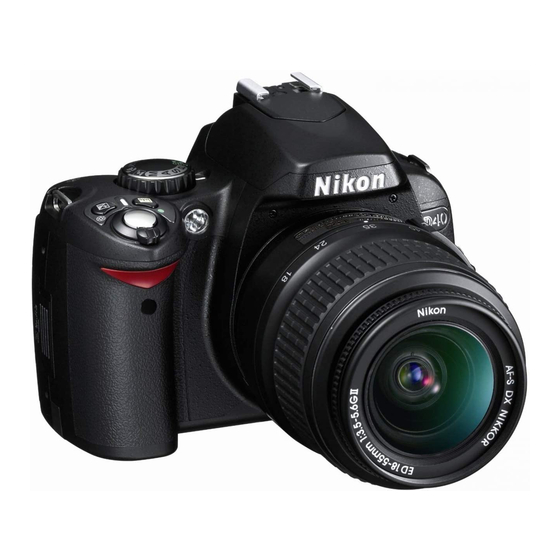
Nikon D40X Manuel - Page 24
Parcourez en ligne ou téléchargez le pdf Manuel pour {nom_de_la_catégorie} Nikon D40X. Nikon D40X 26 pages. Digital slr camera
Également pour Nikon D40X : Spécifications (4 pages), Brochure (7 pages), Brochure & Specs (18 pages), Brochure (8 pages)

38
Part I
Using the Nikon D40/D40x
display, press OK, and choose from the
available settings (200, 400, 800, 1600, and
H1) on the D40; the D40x also has ISO 100.
Setting White
Balance
To more closely match the D40/D40x's color
rendition to the color of the illumination
used to expose an image, you can set the
white balance. To use a value already pro-
grammed into the camera, just press the Info
button, followed by the Setting button. Then
scroll to the White Balance section of the LCD
display, press OK, and choose from among
Auto, incandescent, fluorescent, direct sun-
light, flash, cloudy, shade, and preset.
You can also set the white balance by using
the menu system, with additional options
for fine-tuning or defining a preset value.
You can learn how to use these options in
Chapter 3.
Programmed
Exposure Modes
The D40/D40x has six Digital Vari-Program
modes (see figure 1.21) that make some of
the setting decisions for you. You can
choose any of these modes from the Mode
dial. They include
Auto and Auto (Flash Off). In
these modes, the D40 or D40x
takes care of most of the settings,
according to the kind of shot
you've framed in the viewfinder.
For example, the camera knows
how far away the subject is and
the color of the light, and it can
make some pretty good guesses
about the kind of subject matter
from exposure data and other
information. After comparing your
shot to the 30,000-picture data-
base, the D40 or D40x decides on
the best settings to use when you
press the shutter release. For
example, Auto is the mode to use
when you hand your camera to the
waiter and ask him to take a quick
picture of your group. Don't use
this mode if you want every picture
in a series to be exposed exactly
the same way. If you change
shooting angles or reframe your
image, the camera might match
your shot with a different image in
its database and produce a slightly
different look. Use the Auto (Flash
Off) mode when you want to sup-
press use of the built-in Speedlight.
Portrait. Use this mode when tak-
ing a picture of a person or two
posing relatively close to the cam-
era. The D40/D40x automatically
focuses on the nearest subject and
uses a wider lens opening to blur
the background. The camera's
sharpening effects are not used,
which creates a less-detailed picture
with smoother skin tones. This
exposure also tends to favor smooth
tonal gradations that flatter your
subjects. Flash (if used) reduces red-
eye effects. Don't use this mode if
your portrait subject is not the clos-
est object to the camera.
