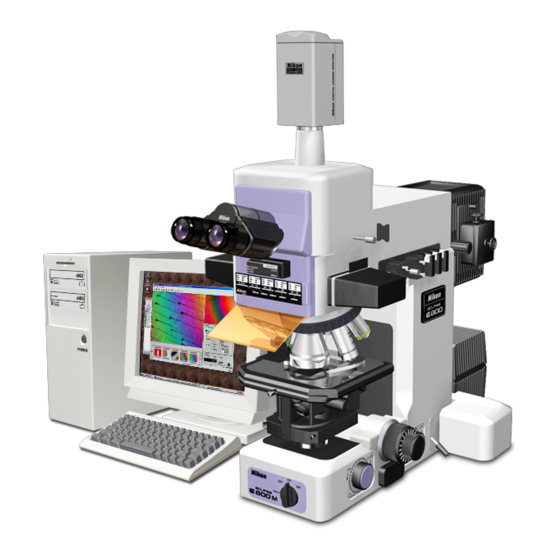
Nikon Eclipse 800 Manuel d'installation - Page 4
Parcourez en ligne ou téléchargez le pdf Manuel d'installation pour {nom_de_la_catégorie} Nikon Eclipse 800. Nikon Eclipse 800 9 pages. Motor drive

Last update: 2021/09/23 17:15
Installing ASI Drive gear
Step 1 - Removing the right fine focus knob,
and installing the ASI cover and drive gear
As shown in the above photos use the small knife, or sharp instrument, to pry off the small round
black cover located in the middle of the right fine focus knob. Use the 7/32 or 5.5mm driver wrench to
remove the nut that is located in the center of the fine focus knob. It will be necessary to hold the left
fine focus knob when removing this nut to keep the fine focus shaft from turning.
After the nut is removed remove the right fine focus knob by unscrewing it, counter clock wise, from
the fine focus shaft. Please note that it may be necessary to hold the left fine focus knob when
removing the right fine focus knob in order to keep the fine focus shaft from turning. After removing
the knob locate the ASI cover and install it in place of the cover just removed.
After completely screwing the ASI cover on to the microscope fine focus shaft as shown locate the ASI
drive gear, this may be on the ASI drive and will need to be removed from the drive as shown. Loosen
the screw on the clamp, and screw it onto the threaded part of the shaft. Insure that the clamp is lose
before you try to screw it on. Screw the shaft all of the way onto the microscope then press the gear
completely against the microscope / ASI cover. Use the 7/64" Allen wrench to securely tighten the
clamp, thus securing the complete assembly onto the microscope.
Drive with cover & knob installed
https://asiimaging.com/docs/
nikon_eclipse_800_zdrive https://asiimaging.com/docs/nikon_eclipse_800_zdrive
Printed on 2022/01/12 17:32
