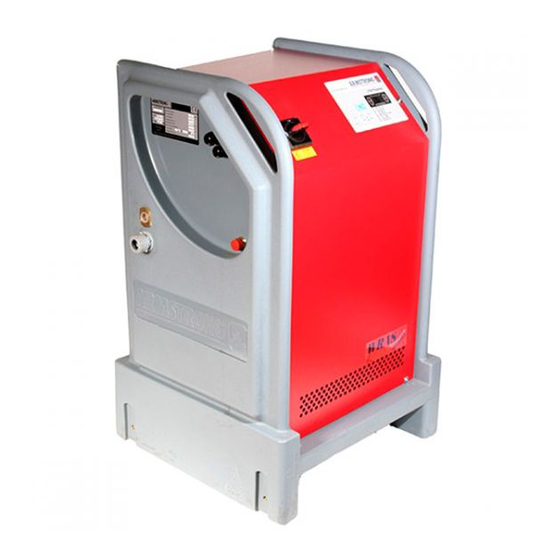
Armstrong 3750 Manuel d'installation et d'utilisation - Page 13
Parcourez en ligne ou téléchargez le pdf Manuel d'installation et d'utilisation pour {nom_de_la_catégorie} Armstrong 3750. Armstrong 3750 14 pages. Pulpress pressurisation unit

24 .0 maintenance checks
Regular checks (Every 3 months)
• Check the pump(s) are developing the correct pressure and
are not noisy or vibrating or air-locked.
• Check that the mechanical seal is not leaking.
• Check that the motor is not over heating.
Checks at six monthly intervals
• Check electrical installation thoroughly for defects. Ensure
that the earth connections are making good contact.
• Check that the break tank is clean.
• Check the operation of the high and low pressure set points.
• Check low level float switch, (high if fitted).
Maintenance
For maintenance please contact our service division on
+44 (0) 845 762 6083.
25 .0 fault finding chart
section
problem
Pump(s) run continuously
1
Pump(s) will not run
2
High pressure
3
Low pressure
4
Low water level
5
1 Pump(s) run continuously
symptom/cause action
Very high
Check system for leaks. Check for split
leakage rate
in vessel bag via the air valve. Check
non-return valve is not bypassing
through second pump.
Faulty
Check that all wiring is in place and not
electrical circuit
loose at any connections.
System pressure
Compare system setting pressure
setting set
(System data on display nameplate).
too high
with Fill pressure (Pi) on data plate. To
reset consult Armstrong Service Dept.
2 Pump(s) will not run
symptom/cause
action
Pump(s) tripped
Check miniature circuit breakers and
reset if necessary.
Faulty electrical
Check that all wiring is in place and
circuit
not loose at any connections.
Pump(s) burnt-out
Repair or replace pumps.
seized
3750 Pulpress
pressurisation unit
3 High pressure
symptom/cause
Incorrect capacity of ves-
sel or larger system than
originally specified
Failure to maintain air
charge
4 Low pressure
symptom/cause action
Pump(s) tripped
Check miniature circuit breakers and
reset if necessary.
Pump(s) burnt-
Repair or replace pumps
out seized
System leakage
Check system for leaks. Check for split
rate very high
vessel bag via the air valve. Check non-
return valve is not bypassing through
second pump.
No water in tank
Ensure that incoming water supply
or spasmodic
is functioning i.e. check isolating valve
water supply
is open, ballcock operates and water
is clean.
Delivery/suction
Open valves.
isolating valve
closed
Suction strainer(s)
Repair or replace strainers.
obstructed
5 Low water level
i) Break tank
symptom/cause
action
No water in break
Ensure that incoming water supply
tank or spasmodic
is functioning (i.e. check isolating
water supply
valve is open, ballcock operates and
water is clean).
Incoming water pres-
Increase the water pressure,
sure is not sufficient
consult Armstrong Service Dept.
ii) Alarm
symptom/cause
action
Faulty electrical
Check that all wiring is in place and
circuit
not loose at any connections.
Broken or damaged
Replacement float switch required.
float switch
i n sta l l a ti o n &
o p er at i ng i nstr ucti o n s
action
Check system and vessel ca-
pacity by re-calculating sizes.
Isolate and drain the vessel.
Adjust the air charge to match
the fill pressure of the system.
13
