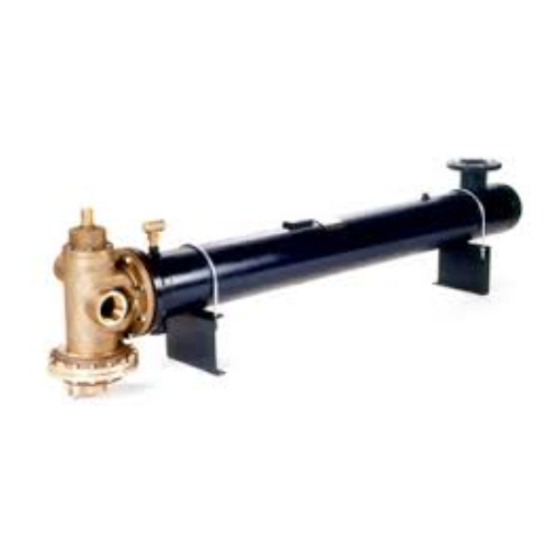
Armstrong FLO-RITE-TEMP 415DW Instructions d'installation et de réglage - Page 3
Parcourez en ligne ou téléchargez le pdf Instructions d'installation et de réglage pour {nom_de_la_catégorie} Armstrong FLO-RITE-TEMP 415DW. Armstrong FLO-RITE-TEMP 415DW 20 pages. Instantaneous water heater. instructions for single and double wall units
Également pour Armstrong FLO-RITE-TEMP 415DW : Instructions d'installation et de réglage (17 pages)

4.
If an externally piloted pressure reducing valve is
used, the control pipe should be pitched away from
the PRV and installed at the pressure gauge on the
shell of the heat exchanger.
5.
A steam safety relief valve should be used prior to
the heat exchanger if either or both of the following
conditions exist. (1) If the maximum steam pressure
could exceed the minimum water pressure in the
tubes, or (2) The maximum steam pressure could
exceed 150 psig (the maximum steam pressure rating
of the shell).
IMPORTANT -Steam supply pipe size coming to the
heat exchanger should NOT be smaller than the steam
connection supplied on the heater, otherwise steam flow
could be restricted. If a pressure reducing valve is used,
installation should be as close as possible to the Flo-Rite-
Temp. Downstream piping from the Pressure Reducing
Valve should be expanded immediately after the PRV to
accomodate the expanded volume of steam.
D
E
1.
An 18 inch minimum thermal loop should be piped into the water inlet and outlet of the FLO-RITE-TEMP and
should be located as close to the mixing valve as possible (See Fig. 3-1A). These loops will act as a thermal check
valve or heat trap to prevent the conduction of heat through the water from the unit during inactive times.
2.
Isolation valves and hose connections added to both the inlet and outlet water supplies will allow for
Clean-In-Place equipment to be utilized.
3.
Use pipe unions on both the water inlet and outlet to allow ease of water heater mixing valve removal for
maintenance and removal of the tube bundle for cleaning (See Fig. 3-1A).
4.
For adjusting the unit, an isolation valve and hot water by-pass to drain should be installed close to the unit down
stream from the thermal loops and prior to the recirculation loop (if one is used) (See Fig.
3-1B). This allows for quick and easy setting of the FLO-RITE-TEMP by one person. By isolating the unit from the
hot water system, flow can be controlled to drain through the globe valve while monitoring outlet water temperature
during low and high flow adjustments on the water heaters mixing valve.
6.
7.
8.
WATER PIPING INSTALLATION
(Follow same plumbing for DW units)
A
F
C
B
C
B
Fig. 3-1
3
To vent start-up air, an Armstrong Thermostatic Air
Vent is included and installed on the top connection,
opposite the trap drain connection of the heat
exchanger. This discharge can be piped to drain or
the floor if preferred.
Install a vacuum breaker in the piping between the
heat exchanger drain connection and the steam trap.
This will prevent improper draining of the heat
exchanger caused by a possible vacuum forming
when the steam is shut off.
Install a suitable steam pressure gauge in the 1/4"
coupler located in the top mid section of the heat
exchanger shell. This gauge will help diagnose
pressure problems should they occur. This port may
also be used for a PRV external control pipe if a PRV
is required.
A
