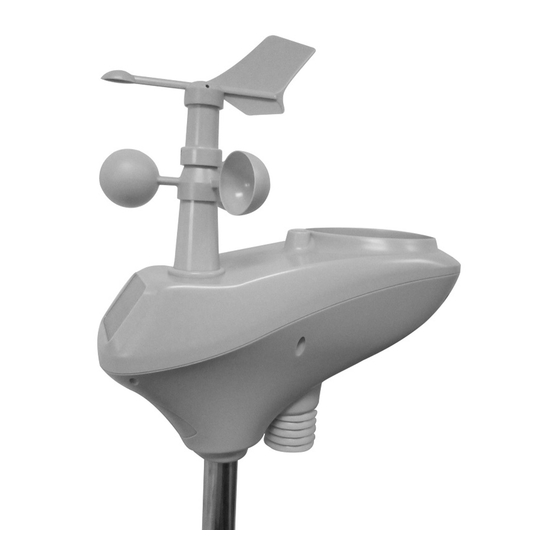
Aercus WH24 Instructions pour le remplacement - Page 2
Parcourez en ligne ou téléchargez le pdf Instructions pour le remplacement pour {nom_de_la_catégorie} Aercus WH24. Aercus WH24 3 pages. Outdoor sensor array for weather ranger and weather sleuth stations

Step 3: Open up the casing of the sensor array by unscrewing the six screws placed around
the sensor (See Figure 2) as shown. Carefully open the casing.
Figure 2: Opening the casing
Step 4: Unscrew the four screws that connect the circuit board cover to the inside of base of
the casing. Gently lift this off to free the circuit board allowing you to access the PCB (circuit
board) and the connection cables.
