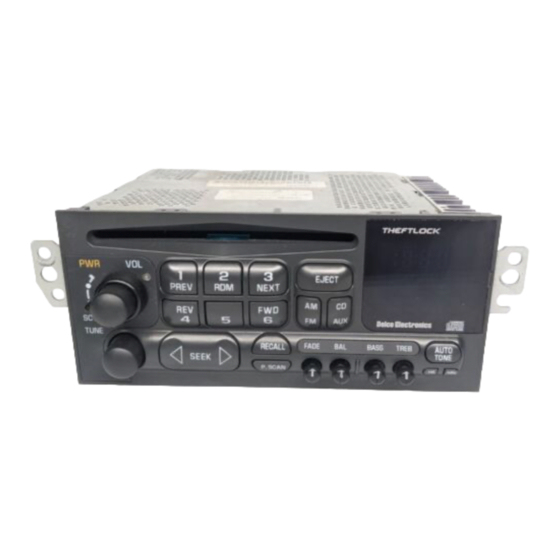
Introduction
Many C5 owners will be pleased to know they can upgrade their audio system to
support Bluetooth music streaming without replacing the factory Radio. The
BLU-C5 connects directly to Radio OR if vehicle is wired with 10-pin for optional
12-disc CD Changer in hatch or trunk; connection can be made there. If vehicle
has a 12-disc CD Changer, it must be disconnected otherwise purchase our
C5
which retains 12-Disc Changer operation. A Bluetooth wireless connection
means no wires, clutter or complicated setup. Pair Smartphone or Tablet and
enjoy navigation, internet music sites, audio books and more on the car system.
This guide covers the basic install steps for the BLU-C5 in 1997-04 Corvette
without 12-disc Changer or disconnected (if present).
Alert:
If your kit includes the other module (green box), please
installation instructions.
See Frequently Asked question at the end of this guide.
Installation 1: (
)
To Radio
This module can be installed behind the radio cavity or at 10-pin CD Changer plug
in trunk/hatch. (See installation 2 on page 4)
Remove Radio from dashboard to gain access to the connectors. (
below for radio removal instruction video)
https://www.youtube.com/watch?v=Gcrlufo1ctc
https://www.youtube.com/watch?v=WTbWYNJTSDs
1.
Disconnect factory 20-pin plug from radio (See Fig. 1)
A2D-
2. Connect vehicles 20-pin plug from step 1 to mating 20-pin connector
(white) on install harness (See Fig. 2).
click here
for
Click links
3. Connect 20-pin plug (black/gray) from install harness (See Fig. 2) to
20-pin connector on radio vacated in step 1
4. Connect 8-pin plug from install harness to module (See Fig. 3)
Fig. 1
C5 Radio connector
Fig. 2
Install harness
Fig. 3

