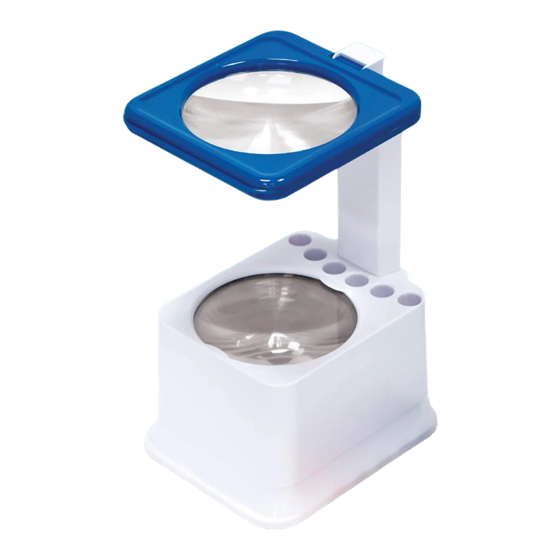
Discovery Telecom ART PROJECTOR Manuel
Parcourez en ligne ou téléchargez le pdf Manuel pour {nom_de_la_catégorie} Discovery Telecom ART PROJECTOR. Discovery Telecom ART PROJECTOR 2 pages.

ART PROJECTOR
PROJECTS ON WALLS AND CEILINGS
Thank you for your purchase of the Discovery Art Projector ! Through
the projector and use multiple discs for layering artwork to achieve a
variety of designs from the projector. Be sure to use this product in a
safe, traffic free environment. Please read all instructions and warnings
on this sheet prior to use. Keep this instruction sheet as it contains
important information for future reference.
CONTENTS
Neck
Base
Lens
10 Clear Drawing Discs
6 Color Markers
Poster
ASSEMBLY
1
Press the neck down into the slot on
the back of the base.
Adult assembly required.
NOTE:
BATTERY INSTALLATION
1
Use a Phillips head screwdriver to
remove the bottom battery cover.
NOTE: Optional AC power adapter (not included) may also be used instead of batteries.
The manufacturer recommends using only a certified OUTPUT DC 6V, 150mA AC Adapter.
™
DRAWING DISCS
6 COLOR MARKERS
2
Slide the back of the lens onto the
top of the neck.
Please make sure the side that
NOTE:
says "Face Down" is on the bottom
before attaching to the neck.
2
Insert 4 AA alkaline batteries in the
polarity direction shown.
10 CLEAR
1 POSTER
3
Your assembled projector should
look like this.
Do not disassemble.
NOTE:
3
Replace the battery cover and tighten.
+
6
AGES
LENS
NECK
BASE
