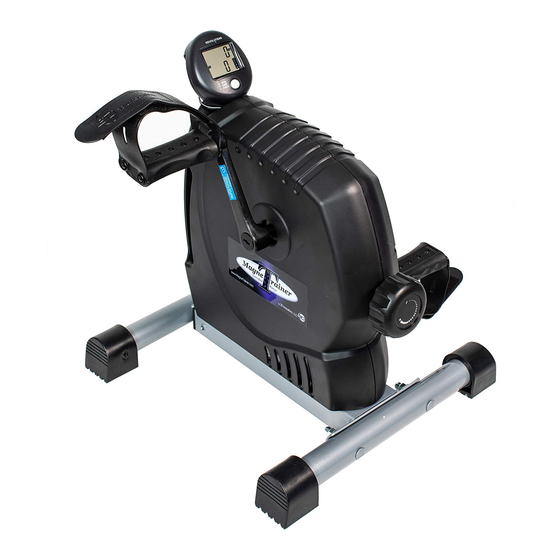
3D innovations MagneTrainer-ER Manuel du propriétaire - Page 5
Parcourez en ligne ou téléchargez le pdf Manuel du propriétaire pour {nom_de_la_catégorie} 3D innovations MagneTrainer-ER. 3D innovations MagneTrainer-ER 12 pages. Extended range

- 1. Table of Contents
- 2. Cautions and Safety
- 3. Assembling Your Magnetrainer
- 4. Using the Magnetrainer with Your Legs
- 5. Using the Magnetrainer with Your Arms
- 6. Adjusting the Pedal Resistance
- 7. Keeping the Bike in Place
- 8. Using the Display
- 9. Care and Maintenance
- 10. Spare Parts
- 11. Support
- 12. Contact
- 13. Optional Accessories
- 14. Free Software
- 15. Warranty
Step 2: Install the Adjustable Leg
Place the bike on a hard flat surface.
Insert the Adjustable Leg into the Bike.
Then screw the Wing Nut into the Bike and
tighten by hand.
For the maximum stability, extend the
Adjustable Leg as far out as possible.
Step 3: Install the Pedals
Screw the left pedal into
the left pedal arm
COUNTER-CLOCKWISE.
Screw the right pedal
into the right pedal arm
CLOCKWISE.
IMPORTANT!
Tighten the pedals well using the
tool!
Using the bike with loose pedals will
damage the pedal arm threads.
Damaged pedal arm threads are
NOT covered under the warranty.
Step 4: Install the LCD Display
Plug the Connector into the Display. Then
carefully slide the Display onto the Display
Bracket.
3
