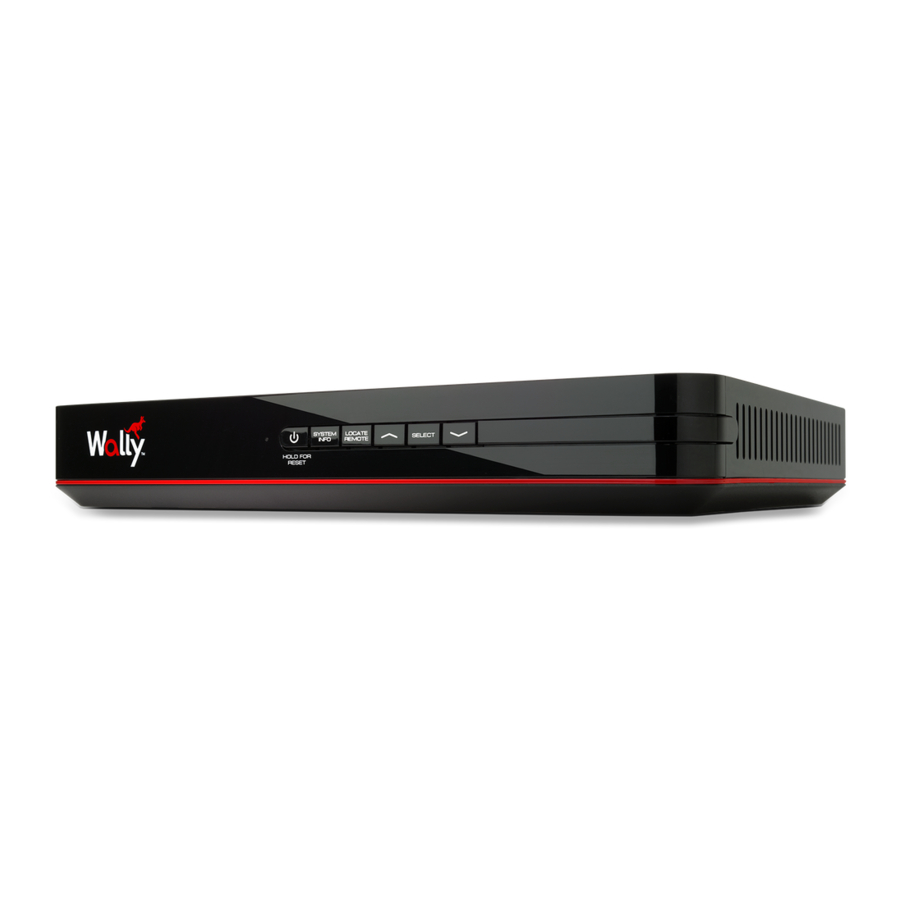
Dish Network WALLY Manuel de configuration - Page 12
Parcourez en ligne ou téléchargez le pdf Manuel de configuration pour {nom_de_la_catégorie} Dish Network WALLY. Dish Network WALLY 17 pages. Single-tuner hd satellite receiver
Également pour Dish Network WALLY : Manuel de l'utilisateur (16 pages), Mise en place (20 pages), Manuel de l'utilisateur (2 pages)

- 1. Labeling Your Cables
- 2. Disconnecting Your Cables
- 3. Connecting the Cables to Your Replacement Receiver
- 4. Powering Your Equipment
- 5. Acquiring a Satellite Signal
- 6. Downloading Your Wally Software
- 7. Pairing Your Remote Control and Setting Your Wally Location
- 8. Setting Your TV Configuration
- 9. Testing Your Hopper Connectivity to the Internet
- 10. Activating Your Wally
- 11. Returning Your Original Receiver
9. Testing Your Hopper Connectivity to the Internet
a.
Wait while your Wally tests the Internet
connectivity. This process will take 1-3
minutes to complete. When complete,
the System Setup Wizard will
automatically proceed to the next step.
If your Wally is using a wireless Internet
connection, follow the on screen steps to
chose your network and enter your password.
b.
Using the arrows on your remote control,
highlight "Next" and then press the
SELECT.
