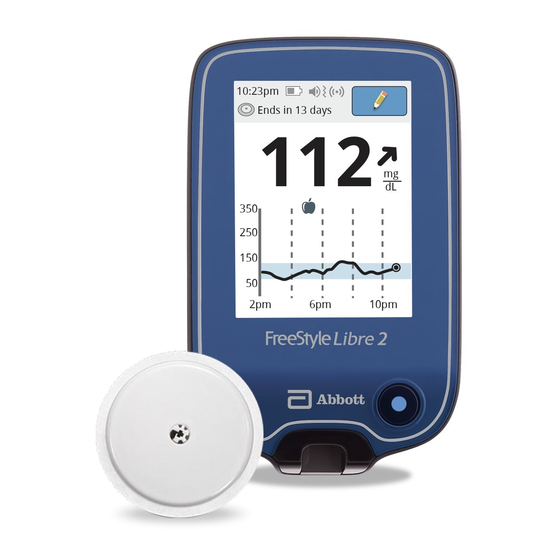
Abbott FreeStyle Libre 2 Commencer - Page 3
Parcourez en ligne ou téléchargez le pdf Commencer pour {nom_de_la_catégorie} Abbott FreeStyle Libre 2. Abbott FreeStyle Libre 2 9 pages. Flash glucose monitoring system 4.5”
Également pour Abbott FreeStyle Libre 2 : Manuel de démarrage rapide (2 pages), Commencer (15 pages), Manuel (12 pages), Commencer (15 pages), Manuel de démarrage rapide (2 pages)

4 Get Started
3 Steps
to Apply Sensor
Sensors stick better when you wash, clean, and dry your arm before application.
01
Wash, Clean, and Dry
Select a site on the back of your upper arm
that stays flat during normal activity. Clean
skin with
non-moisturizing, fragrance-
free soap
and water. Use an alcohol wipe
to disinfect the skin and
let air dry
before
proceeding.
Tip:
Do not use moisturizer
where you apply the sensor.
03
Apply
Apply the sensor to the back of your
upper arm by pressing firmly. Listen for
the click. Wait 30 seconds and pull back
slowly, leaving the sensor on the skin.
Get support and information
at FreeStyleLibre.us
Parent Tip
Because kids have smaller arms, it can be challenging to find a new sensor
application spot. Make sure to rotate the site to allow skin to fully heal.
Switching arms each time can help.
02
Prep Applicator
Open sensor by peeling back the lid.
Unscrew cap from the sensor applicator.
Line up marks on the sensor applicator.
Press down firmly and then lift.
Tips to Help Keep
Your Sensor in Place
The FreeStyle Libre 2 system is designed to stay on for up to 14 days.
• Secure sensor by pressing it down and running your finger along the sensor adhesive.
• Apply sensor to different sites each time to avoid irritating your skin.
• Avoid placing sensor on moles, scars, stretch marks, and lumps. Shave hair on arm,
if necessary.
Some people use the following products for extra stickiness and protection:*
Torbot Skin Tac™
Hypoallergenic and
latex-free "tacky" skin barrier
Skin-Prep™ Protective
Barrier Wipe
Protective liquid dressing that
allows skin to breathe so tapes
and films adhere better
Over-bandage†
Be sure to use only medical-grade adhesive, bandage, or tape.
Apply and remove at the same time you apply or remove your
sensor. Leave the opening/hole over the center of the sensor
uncovered so it can breathe.
Parent Tip
Experiment to find extra stickiness products that work for your child.
Try an over-bandage for active kids.
*Abbott Diabetes Care ("ADC") is not affiliated with the manufacturers of the products listed. Reference to third-party products does not constitute or imply an
endorsement, recommendation, sponsorship or favoring of any product or manufacturer. ADC is not responsible for the completeness or accuracy of any information
regarding third-party products. ADC makes no representations, expressed or implied, regarding third-party products or their manufacturers, quality or suitability for
you. Manufacturers' instructions for use of each product should be followed.
†Over-bandage must be applied at the time of sensor application, the opening/hole in the center of the sensor must not be covered. Additional medical grade bandages/
tape can be applied but do not remove bandages/tape once applied until sensor is ready for removal.
Get Started 5
Tegaderm I.V.™
A transparent film that
provides adhesive strength
Mastisol® Liquid
Adhesive
Clear, non-irritating, non-
water-soluble liquid adhesive
