Displays2go LITTER GRAPHIC Instructions de montage
Parcourez en ligne ou téléchargez le pdf Instructions de montage pour {nom_de_la_catégorie} Displays2go LITTER GRAPHIC. Displays2go LITTER GRAPHIC 2 pages. Trash receptacle
ASSEMBLY INSTRUCTIONS
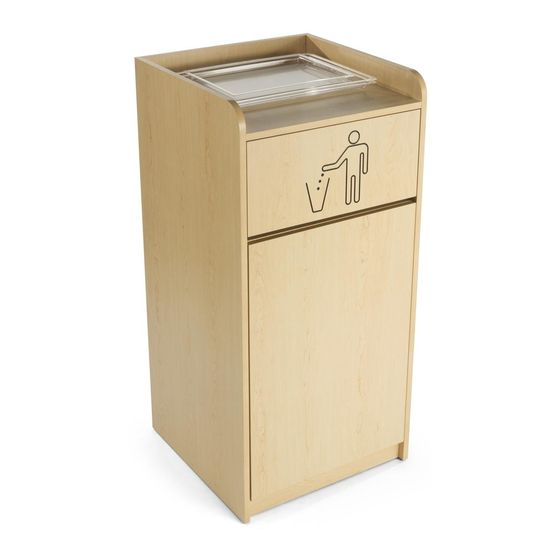
TRASH RECEPTACLE - LITTER GRAPHIC
PARTS
A
Top Panel
B
Side Panel
C
Bo�om Panel
D
Back Panel
F
Toe Kick Panel
G
Swing Door
g
Li�er Graphic Flip Door
H
Divider Panel
A�en�on: Before you start assembling your trash receptacle; please prepare a so� surface work area on the floor. The only
tool you will need is a screwdriver. Carefully remove all hardware from packaging and place the hardware parts on the so�
work area where they will not come in contact with the laminated wood components. To avoid damage to the laminated
wood surfaces, keep hardware parts separated un�l they are needed for assembly. 2 PERSON RECOMMENED.
1. Screw 2 cam posts (H2) into the holes in Panel C. A�ach Panel F
to Panel C by inser�ng cam posts into the cam lock holes. Insert 2
cam locks (H1) into cam lock holes on Panel F, use a phillips screw
driver to rotate cam locks clockwise to secure cam posts.
How to join 2 boards with CAM lock:
(a) Insert cam post into flat surface of a board. Fit the hole in the
edge of the joining board over the cam post.
(b) Each cam lock has an open sec�on at the back. Insert the cam
lock into the cam Be sure the opening fits the head of the cam post.
(c) Use a screw driver to turn the cam lock clockwise so it locks onto
the head of the cam post. Do not over �ghten.
(a)
Ver. 03/18
1pc
2pcs
1pc
1pc
1pc
1pc
1pc
1pc
(b)
(c)
HARDWARE
H1 Cam Lock
H2 Cam Post
H3 Wood Screw
H4 Concealed Hinge
2. Screw 4 cam posts into the holes in Panel D. A�ach Panel A and
assembled Panel C to Panel D. Insert 4 cam locks into cam lock holes
on Panel A and Panel C, use a phillips screw driver to rotate cam locks
clockwise to secure cam posts.
3. Insert 11 cam posts into the pre-threaded holes in Panel B as shown
below. A�ach the assembled panels in STEP 2 to Panel B and use cam
locks to securely lock it in place.
28pcs
28pcs
12pcs
2pcs
1 of 2