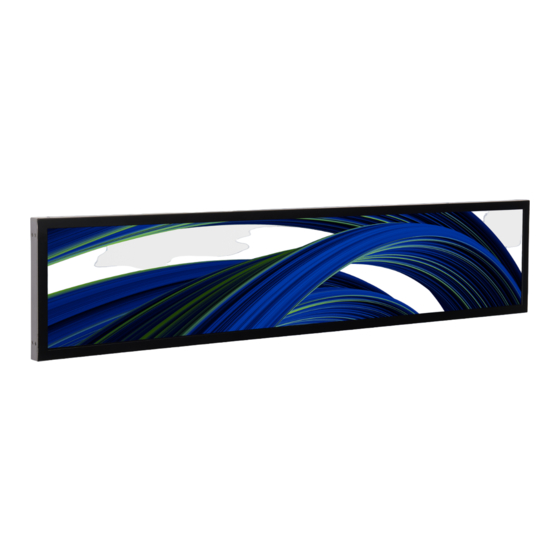
Displays2go DGLCDSTCH28 Manuel de l'utilisateur - Page 14
Parcourez en ligne ou téléchargez le pdf Manuel de l'utilisateur pour {nom_de_la_catégorie} Displays2go DGLCDSTCH28. Displays2go DGLCDSTCH28 18 pages. Non-touch stretch digital display
Également pour Displays2go DGLCDSTCH28 : Manuel de l'utilisateur (11 pages)

ISSUE
No Picture or Sound
No Sound (Picture Is Working)
No Picture (Sound Is Working)
Remote Control Not Working
TROUBLESHOOTING GUIDE
PROBABLE CAUSE
-Unit is not plugged into the
wall.
-Power cord not properly
connected to the terminal on
the back of the unit.
-Unit is not powered on.
-Wall outlet is not working.
-Volume has not been
adjusted on the remote
control.
-Content/Video does not have
sound.
-Content format is not
compatible.
-Speakers do not work.
-Content file is damaged.
-Content format is not
compatible.
-Screen is damaged or
defective.
-Batteries were not inserted
properly.
-Batteries are dead.
-Standing too close or too far
from the unit.
PAGE 14
SOLUTIONS
-Check that unit is plugged into wall.
-Confirm that the power cord is
connected to the terminal on the
back of the unit.
-Turn the on/off toggle switch to the
"on" position.
-Unplug unit, wait 20 seconds,
plug unit back into outlet and try
again.
-Make sure that outlet is working by
plugging in a different electrical
device.
-Adjust volume using the remote
control.
-Confirm content is one of the
following compatible formats: AVI,
MPEG4, WMV, MKV, flv, MP3,
MP4, MOV.
-If unit is connected to Wi-Fi, go to
YouTube and play video that has
sound as a test.
-Unplug unit, wait 20 seconds,
plug unit back into outlet and try
again.
-Try playing the content on a
different
device (smart phone, computer, or
tablet).
-Confirm content is one of the
following compatible formats: AVI,
MPEG4, WMV, MKV, flv, MP3,
MP4, MOV.
-Try playing the content on a
different device (smart phone,
computer, or tablet).
-Unplug unit, wait 20 seconds, plug
unit
back into outlet and try again.
-Check that battery is inserted
properly with positive and negative
orientation.
-Insert new batteries.
-Stand within 1 foot of the front of
the unit and point the remote
directly at the
sensor.
