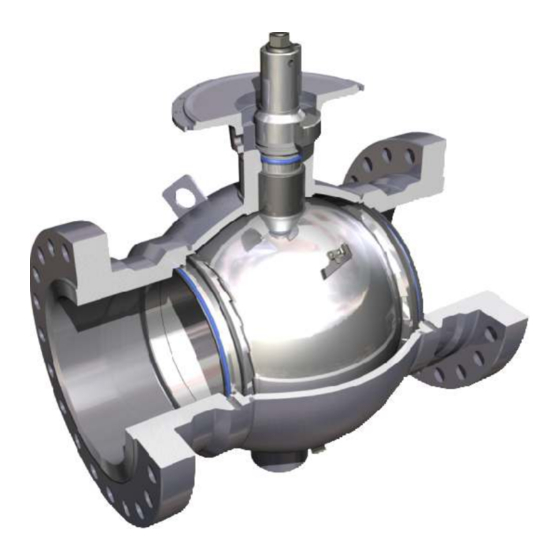
Cameron TYPE 31 Manuel d'installation, d'utilisation et d'entretien - Page 13
Parcourez en ligne ou téléchargez le pdf Manuel d'installation, d'utilisation et d'entretien pour {nom_de_la_catégorie} Cameron TYPE 31. Cameron TYPE 31 20 pages. Fully welded body ball valve

Valve Cleaning
Steps
1. Inspect valve.
2. Inspect equipment.
3. Inject flush.
4. Operate valve.
5. Inject cleaner / flush.
6. Allow valve to soak.
7. Inject flush.
8. Operate valve.
9. Test valve.
Installation, Operation and Maintenance Manual
Inspect:
Seat injection fittings.
Stem injection fitting. (Do not inject into this fitting.)
Body / bleed fitting
Make sure the grease gun / pump is in working order and loaded with the
appropriate product.
Inject full seat capacity into each seat, utilizing the seat injection ports.
(Refer to capacity chart on page 13.)
Make sure it is safe to operate the valve.
Fully operate valve three times.
Inject full seat capacity into each seat, utilizing seat injection ports.
(Refer to capacity chart on page 13.)
Wait one to six hours to allow cleaner to penetrate the buildup and
contaminates.
Inject full seat capacity into each seat, utilizing seat injection ports.
(Refer to capacity chart on page 13.)
Fully operate the valve three times.
Block-and-bleed valve. (Refer to Block-and-Bleed procedure on page 7.)
If the valve will not bleed down, follow the sealant injection procedure on
page 12.
E N G I N E E R E D V A L V E S
Procedure
11
IOM-CAM-BALL-T31
